Brief Description: Section 26 Mid. Fuselage Ribs and Bottom Skins. Pa
Section 26 Mid. Fuselage Ribs and Bottom Skins. Page 26-4 Steps 1... 6 …. I located all the necessary parts to complete the assembly. Step 1, I first created two Flap Motor Attachment Angles F-1066A/B. Step2, Final Drilled with #12 the bolt holes and then the #40 nutplate attachments holes of the Flap Actuator Bracket F-1066A and clecoed to the Left and Right Seat Rib Sub-assembly. Step 3, The Final drilled #30 the holes in common between the two parts. The Final Drilled ¼ inch in the upright flange of the flap motor attaches angles. Step 4, disassembled and debured all parts and then primed with DTM primer. Step 5, Insert he VA-175 Heat Duct Tee into the Vent DL-03 SCAT Tub Flanges as shown on figure 2. Now riveted the two nutplates to the Flap Actuator Bracket. Clecoed the Rib assemblies to the Aft Center Section Bulkhead Assembly. Step 6, Riveted the Flap Actuator Bracket tot eh Left and Right Inboard Seat Rib Subassembly. The riveted the Flap Actuator Bracket using the hardware described in figure 3. Finally bolted where indicated with AN3-121A bolts and riveted with AN470AD4-6 rivets where necessary. Time about 5 hours.
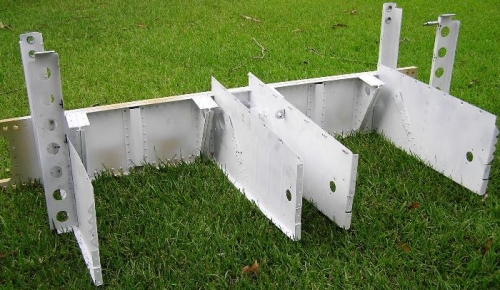
Center Section Bulkhead Subassembly with Seat Rib Attachments
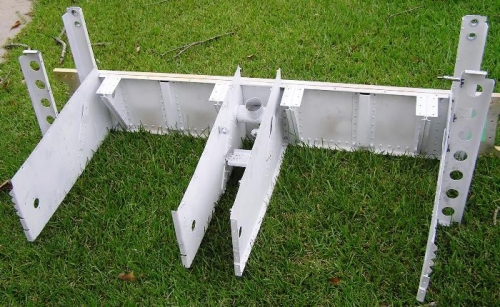
Center Section Aft Assmbly with VA-175 Heat Duct Tee into the Vent DL-03 SCAT Tub and Seat Ribs