Brief Description: AILERON BELL CRANK BUSHING INSTALLATION and AILERO
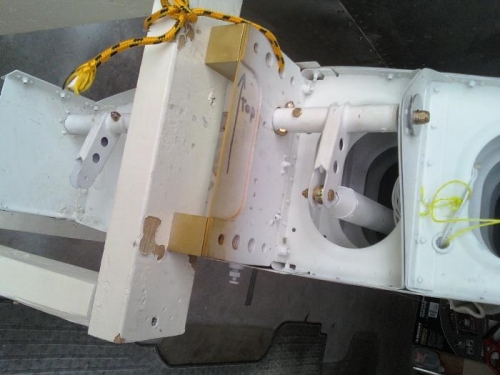
6/2/2009 … Section 23-5 Step 1 and 2. AILERON BELL CRANK BUSHING INSTALLATION, Step 1, I Deburred the brass bushing BR-065 X .375 X 2.781 Aileron Bellcrank Bushing and trimmed to the exact length of 2 and 3/ 4 inch and then filed the inside of the WD-421 Aileron Bellcrank to accept the Brash Bushing. Then as explained in the instructions I at first filed and then reamed with a 1 /4 inch drill bit the inside of the Brash Bushing to accept an AN4 bolt. Step 2, AILERON BELL CRANK INSTALLATION. I installed the WD-421-L/R Aileron Bellcrank with Brash Bush sub-assembly into the left wing assembly as described in figure 2. And tighten the AN4-32A bolt to 70 inch/pounds. Time for both wings about 2 hours.