Brief Description: Horizontal Elevator Section 9-1 to 9-21
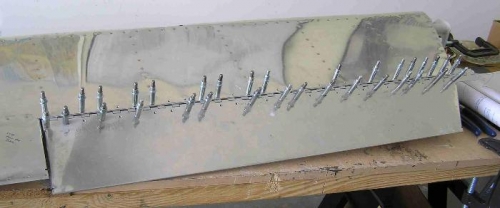
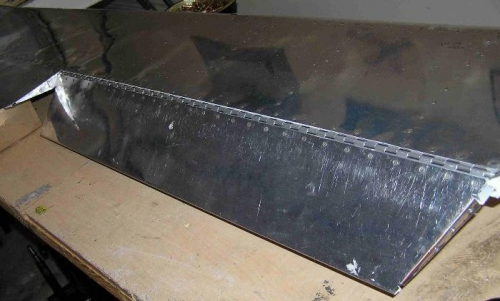
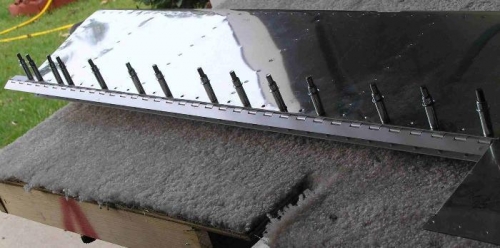
08/02/2008 …. Today, I completed the Horizontal Elevator Section 9-1 to 9-21. ) Steps 1 to 8 Sections 9-18 and Steps 2 to 3 Section 9-19. First I cut the Piano Hinge AN257-P3 into two 35” lengths and drill two #40 holes as specified in Figure 1. A very HOT Saturday afternoon with temperature above 101 degrees F. First I match drilled using #40 drill the Piano Hinge as specified in Figure2 and Figure 3. This includes both the Trim Tab and the Horizontal Elevator section. Before riveting both sections to the hinge I marked with a pen where to cut the end of the piano hinge and remove the center pin from the hinge and then cut the hinge but not the center pin as specified by step 6. The I riveted the hinges to both the Trim Tab and the Horizontal Elevators with the rivets specified on page 9-20. Attached the two half’s of the piano hinge together with the center pin and checked that the hinge and the trim tab moved freely with no binding, restricted or un-necessary impeded movements. Page 9-19, Steps 1 and 2, I drill the 1/16” hole into the corner brace of E-905 for the wire tie into the center rod (pin) that holds the piano hinges together so that expected movement would not for the center pin out of the piano hinge. Final I bent the center rod (pin) to the form expressed in Figure 1. Time about 5.5 hours.