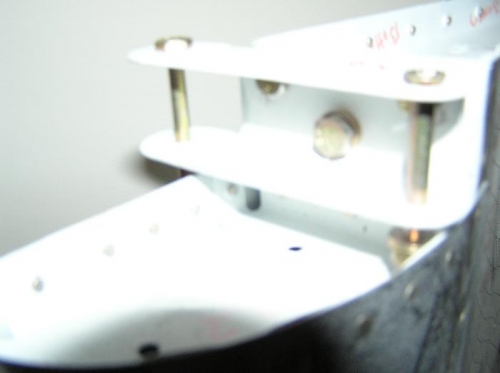
Brief Description: FL-1007-L Hinge Brackets as shown in Figure 3
05/09/2009 …. 22-2, Step 2 to 5. Step 1 was previously completed as I needed the cradles for the Aileron project. Step 2, I skipped for now and will come back to this after I unwrap the FL-1001C Top Skin and FL-1002 Bottom Skins from their plastic coating. Step 3, I carefully marked the three 05/09/2009 …. 22-2, Step 2 to 5. Step 1 was previously completed as I needed the cradles for the Aileron project. Step 2, I skipped for now and will come back to this after I unwrap the FL-1001C Top Skin and FL-1002 Bottom Skins from their plastic coating. Step 3, I carefully marked the three FL-1007-L Hinge Brackets as shown in Figure 3 and drilled one Hinge Bracket with a #40 drill in the four places I marked with the Drill Press. Then after checking the holes again for the correct dimensions I placed the other two Hinge Brackets (one at a time) in alignment with the pre-drilled holes and drill both. Step 4, I clecoed the FL-1006 Doubler to the FL-1004-L Nose Rib as shown in Figure 4. Then Final Drilled the large ¼ inch hole and the #30 size holes and two #40 3/32 inch doubler holes and machine counter sank the two 3/32 holes flush on the FL-1006 doubler. This creates the Out Board Rod End Rib sub-ssembles that will attach to the FL-1001-L Main Spar. Step 5, Created the In Board Rod End sub-assemblies by first clecoing the thick aluminum FL-1006 Doubler to the FL-1004-R Nose Rib as shown in Figure 5. Again as in step 4 Final Drill the #30 holes and the ¼ inch hole in the Doubler. However do not drill the #40 3/32 inch holes. Time about 3 hours for both left and Right Ailerons.