
|

|
|
|
Conrads X-10 Build Log
|
Date: 10-13-2009
|
Number of Hours: 2.00
|
Manual Reference: 29-19 Step 5 to 8
|
Brief Description: Section 29, FUSELAGE SIDE SKINS …. Pages 29-19, St
|
|
Section 29, FUSELAGE SIDE SKINS …. Pages 29-19, Steps 5 to 8
Step 5, I countersunk the six holes in the side of the F-1070-L/R skin to match the F1093Vent Doors for AN426AD3-3.5 rivets.
Step 6, I riveted the F-1096 Vent Doubler to the F-1070-L Mid Side Skin and then the F-1086A and F-1086B Vent Brackets with AN426AD3-3.5 rivets and AN426AD3-4 rivets.
Step 7, Riveted the F-1092 Side Vent, F-1087B Vent Slide, F-1092 Vent Door Doubler and the F-1093 Vent Door together with six AN426AD3-4 rivets. Then I repeated the above steps with the other side.
Step 8, After inserting the above completed Vent Door Subassembly into the side skin opening I install the following hardware. 1, AN525-10R7 screw, 2 5610-90-31 nylon washers, 1 AN960-10L steel thin washer and finally 1 MS21042-3 castle nut.
Time about 2 hours.
|
|
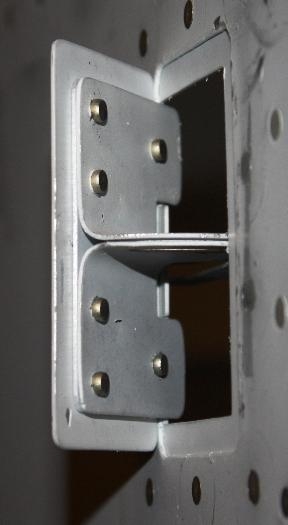
Riveted the F-1092 Side Vent, F-1087B Vent Slide, F-1092 Vent Door Doubler a
|
|
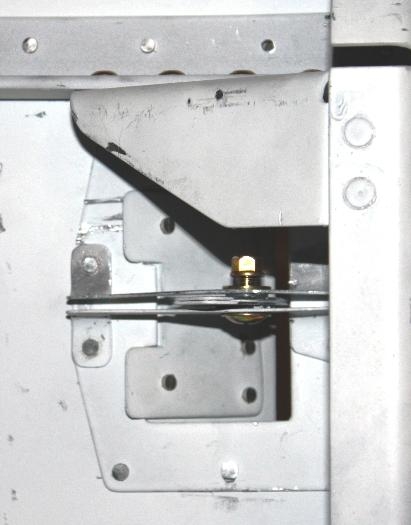
The following hardware. 1, AN525-10R7 screw, 2 5610-90-31 nylon washers, 1 AN960-10L steel thin washe
|
|
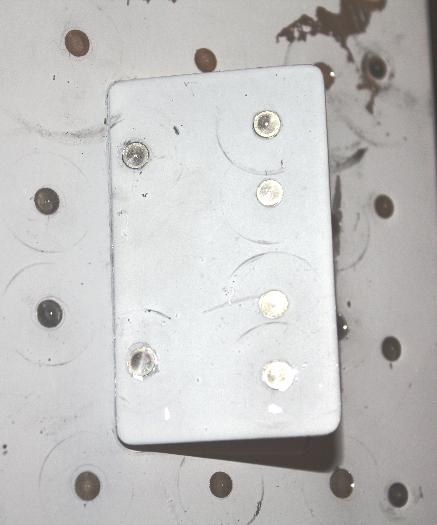
Countersunk six holes in the side of the F-1070-L/R skin to match the F1093Vent Doors for AN426A
|
|
|
|
|
|
|
|
|
Copyright © 2001-2024 Matronics. All Rights Reserved.
|