Brief Description: Main and Nose Wheels and Tire Assembly
SECTION 46-03 Engine Mounting and Landing Gear
Sept 25th After the EAA Chapter 38th Fall Picnic returned home and continued to work on my X-10 project.
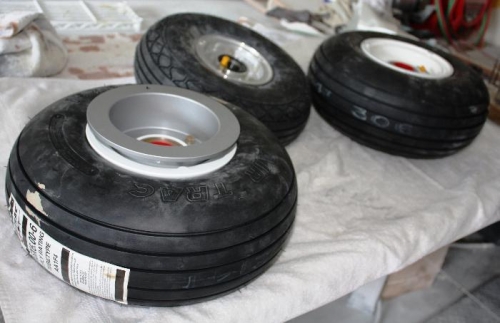
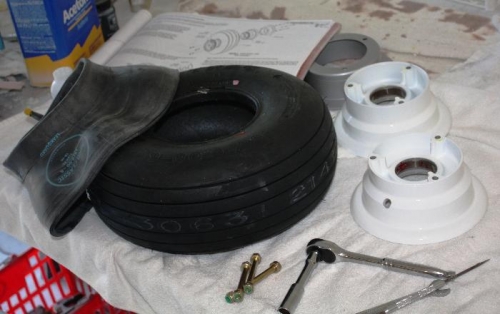
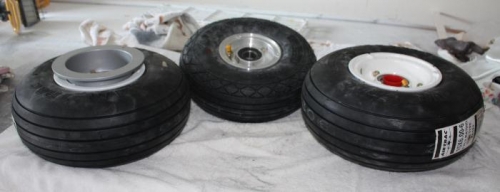
Step 1 … I removed the bearing and stacked on a paper towel in the reverse order so that greasing and reinstalling would be simple. Step 2, Split the two Main Wheel Assemblies and Disk Brake in half after removing the three bolts. Step 3, Located the 6..X6 tubes and the Main Tires. Dusted with baby talcum powder the insides of the Tires and the outside of the Tubes. Placed the Tubes inside the Tires and located the Valve Stem at the Red Dot on the Tire. Bolted the two Main Wheel Assemblies and Disk Brake in half and torque to 150 in/lbs. Step 4, Using a Black & Decker Air Station inflator I filled the Tire to 25 psi of pressure and then drained all the air within the tube. I repeated this procedure three times in order to reduce the creases inside the tire so that a flat tire should not result. Then finally adjusted the Air Station to 42 p.s.i Step 5, Found some high quality Synthetic Grease that is good for a temp range of -20 F to 500 F and packed the bearing and placed them back in to the Tires. Step 6, I located the smaller aluminum Nose Wheel and removed the bolts and thereby split the Nose Wheels Halves into two pieces. Step 7, Then I located the other smaller 5.00X5 nose wheel tube that was marked something about “never have a flat” or something like that. Removed the two nuts and washer from the tubes value stem. As I believe that we will not be using this hardware again on the Nose Wheel Assembly. Then I repeated the same procedure with the talcum powder as before with the Main Tires. Placed the nose wheel Tube in the nose wheel Tire and aligned the Valve Stem within the Wheel Half notch and again the red dot on the outside of the tire. Then I bolted both of the Wheel Halves together being careful as not to pinch the tube and torque the nuts to 70 inch pounds. Step 8, As before using a Black & Decker Air Station inflator I f