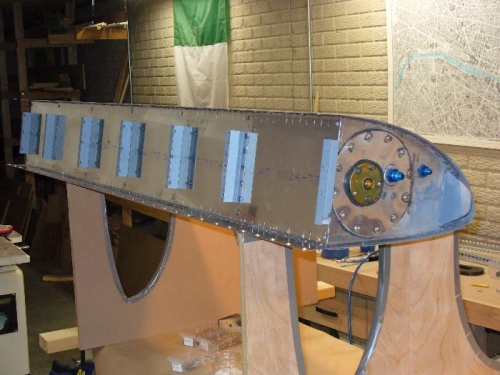
Big day today - double checked tank interior, wiped it out. Put bead of sealant all around, then attached rear baffle. Applied clecoes, then one by one removed, ensured sealant in hole (most had enough, but a few needed seom applied), placed rivet, and squeezed. Tedious, as there are around 70 skin to baffle holes on each side. I then attached outer pop rivets baffle to ribs, then attached brackets after putting sealant on every hole. I ground my pop riveter head down to increase clearance (remember to remove all internal parts in head to avoid melting any plastic parts - mine had only metal). Tank done!!! Next step will be to leak test it with a home made manometer vs the balloon trick.