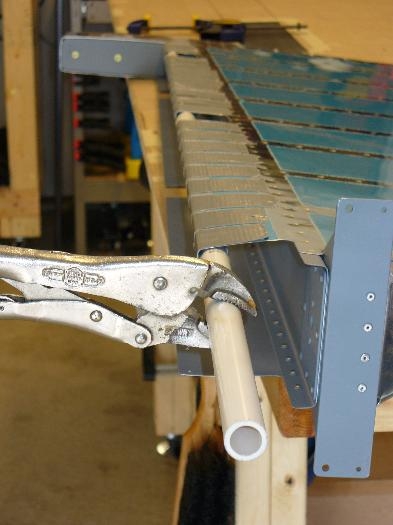
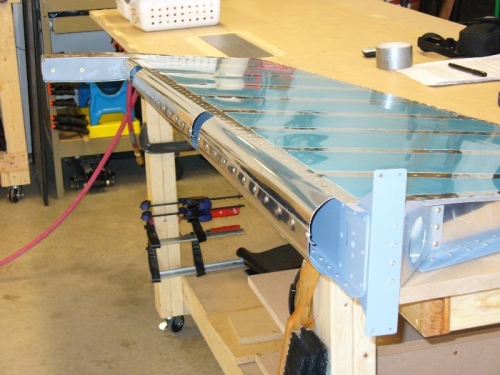
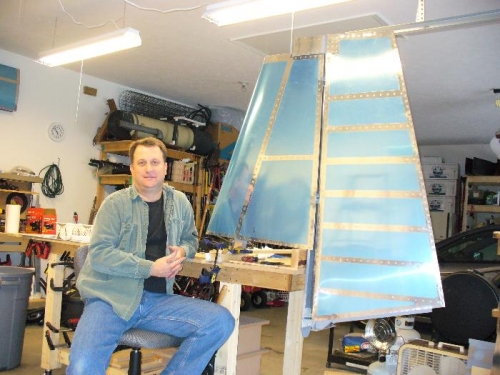
Continuing on from the trailing edge - time to roll the front. Pic 1 shows the technique - a 3/4inch PVC pipe was attached with duct tape tot he skin leading edge. Vice grips were attached and the pipe rolled after flipping the rudder (you want to be able to press against the worktable as you roll to prevent forming a sharp bend at the spar). I chose the 3/4 pipe over 1 inch as I could generate a sharper bend that would spring back into a closer final shape. Then, I clecoed the two skins (tip - a #40 set punch works great to coax the holes into alignment, then cleco either side). All holes drilled to #30, deburred (back sides done with scotchbrite pad). Blind rivets then applied. Lastly, I screwed in the bearings to the required depth, but will torque the jam nuts later after getting some crow feet wrenches that can be attached to a torque wrench (note - torque values are adjusted when using these wrenches. There are tables on the net, VAF, etc). I mounted the rudder to the VS for grins (many do it at final assembly) - swings ever so smoothly with barely a touch. Beautiful!