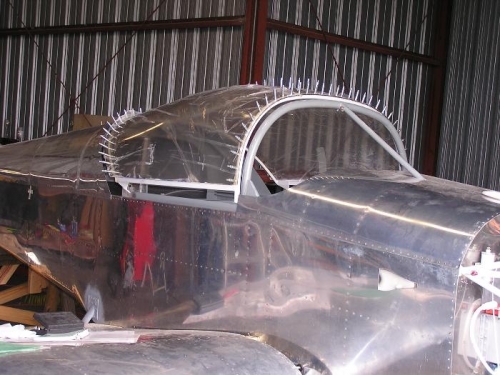
We had drilled the canopy rails to #40 and had it held on with clecoes. To fit the canopy we had to finish installing the rail. It needed grinding down in the rear to match the fuse and a spacer made to fit in the back on the deck. We did this and then enlarged the holes for #8 screws. After installing the screws and nuts, we then put the canopy/frame on the track and found that it had spread some in the front (1/4 inch) but none in the back. We still have 1/16th" clearance inside the skin. The frame would slide back without too much trouble and I think that it is OK as is. See Image#1.The instructions say that we can still adjust the frame some at this point but I can't see how this is possible given the fact that it is already drilled. I think that I will leave good enough alone. We just had to put the wind screen on the front deck to see how it fits. It is a little low and we may have to shorten the front bow slightly but we will study this further before making this cut. This thing is beginning to look like an air plane, don't you think?