Brief Description: Drilled elev. horns; corrected clearance nose elev
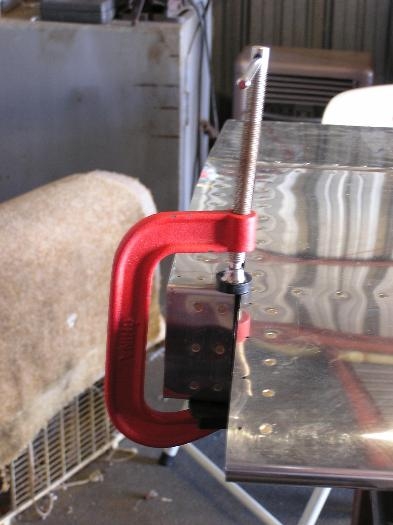
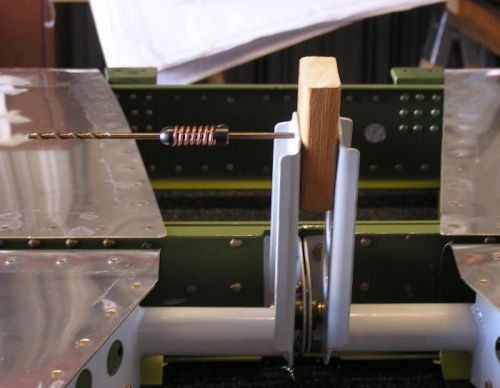
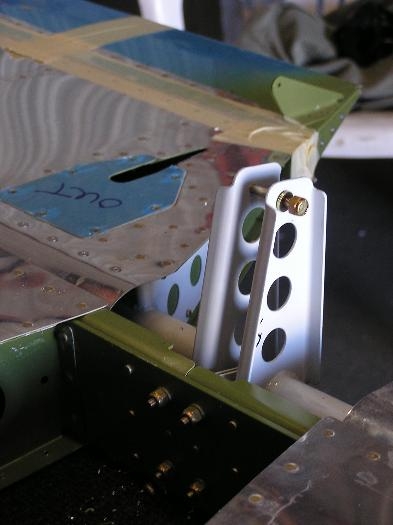
We had a slight "scrubbing" on the nose of the elevator when it was in the extreme up position We found this was caused by rubbing on 6 rivets. We took the elevators off and squeezed these rivets and recontoured the nose of the elevator slightly thus giving us enough clearance. If we were to do this again, we could have extended the rod end bearing slightly but I think that this will work just fine...... We then found that the right elevator horn was slightly aft of the left so we measured and drilled it first according to the plans. Claude had found a piece of hard wood that would fit between the horns (see Image #2) and we drilled it on the drill press. We then put the elevators back on and used the block as a drill guide and drilled the left horn in assembly again with the elevator zeroed (see Image #1) The final result was that the elevators and the holes lined up nicely. (see Image #3) We then couldn't wait to see what the horz. stabilizer and the elevator would look like on the plane so guess what we did? Look at the second entry for today to see if you were right!