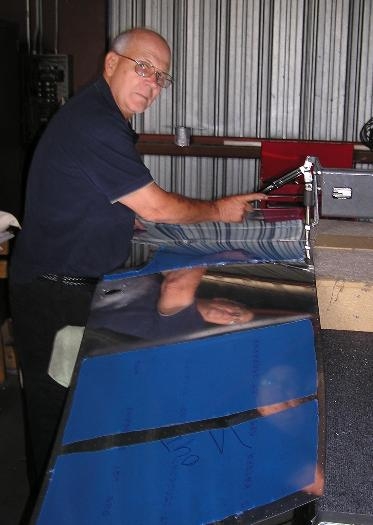
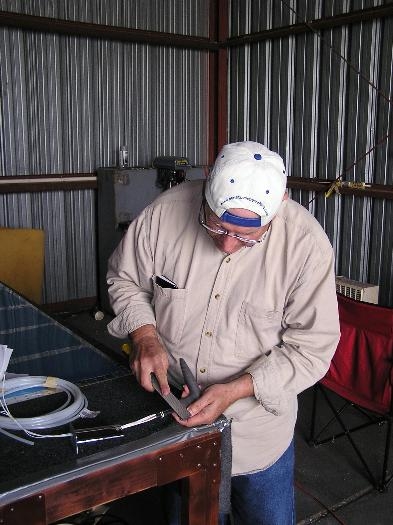
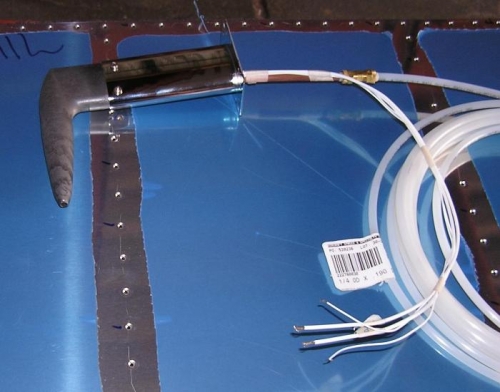
Today it was actually a little cold in the hangar. We did get a lot accomoplished though and it is so much nicer than getting soaking wet from sweat We took the bottom skin back off the wing and finished drilling the skin in assembly with the pitot backing plate. With the plate clecoed in place then we cut a hole in the skin for the pitot mast using the backing plate as a template. Then we dimpled the entire skin on the DRDT2. It worked like a charm. I was wondering if it were necessary but now I know that it was a good deal. You can see this in IMAGE #1 and if you look very closely off my right elbow the hole we cut for the pitot. It really came out nicely.....Then we tried to fit the pitot tube in the mast but it was too large so Claude got the file to it as you can see in IMAGE #2. Now it fits but the holes for the anchoring screws don't line up so tomorrow we will try to correct that. In IMAGE #3 you can see the tube in the mast and the copper tube at the base of the tube anchored to some teflon tubing that we will run down the conduit to the fuselage. The white wires that you see will be connected to a circuit board that controls the heat for the pitot. The Gretz heated pitot senses the temperature and when it is near freezing, turns on the heat thus removing one more thing from the pitot to do when he is in weather. I have not seen this feature on a certified airplane.