Brief Description: Drilled block Rt. Step/Prepared float for fuel gua
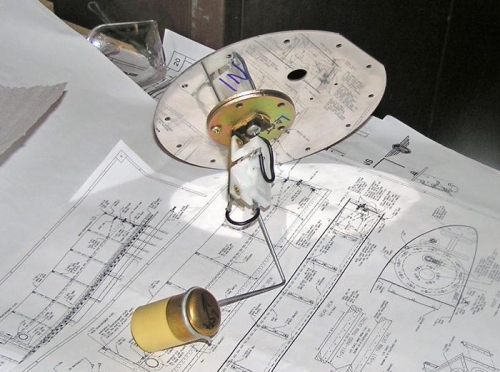
We had to drill 2 holes in the plastic block on the end of the right step tube. Then we read and reread the instructions for the closing of the fuel tank for they were confusing. The float on the fuel sender was on a long wire and had to be bent at 90 degrees at 3.25 inches and then bent 90 degress at 3.25 inches but in the oposite direction from the first bend. In the plans this was called a shepard's crook. Then this arm had to be shortened to 0.5 inches and inserted in the sender. The float then had to be inserted into the tank and the amount of travel checked. In a slow build tank that still didn't have skins in place this could be done, as per the directions, visually. However since our tank was closed, we did this by checking the ohms of resistance in the full and empty position. It seemed to check out. While we still remembered how we did the bending, we went ahead and bent the float arm for the right tank so that it was a mirror image of the left float arm. We will next have to install the pickup tube. Again we will not be able to confirm that it goes to the bottom of the tank visually and this will be important so that the usable fuel will approach the total fuel.
Flaot for fuel sender bent to shape
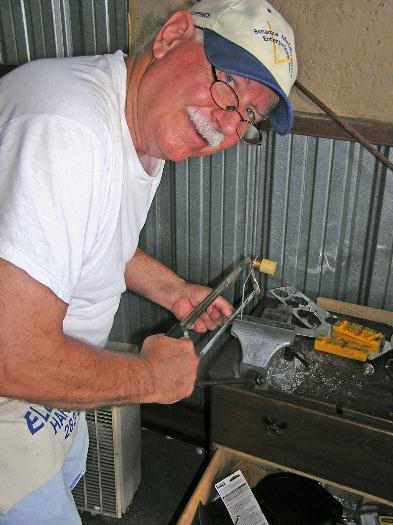
Claude cutting float wire to length after I had bent it