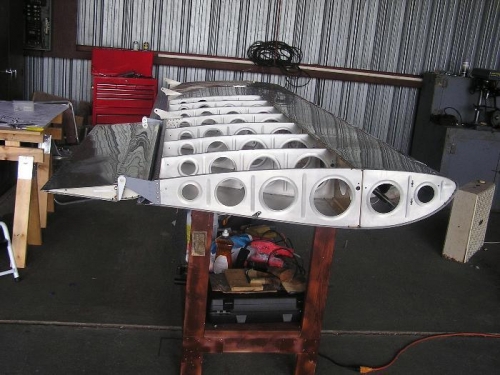
Brief Description: Left aileron and all push rods mounted and aileron
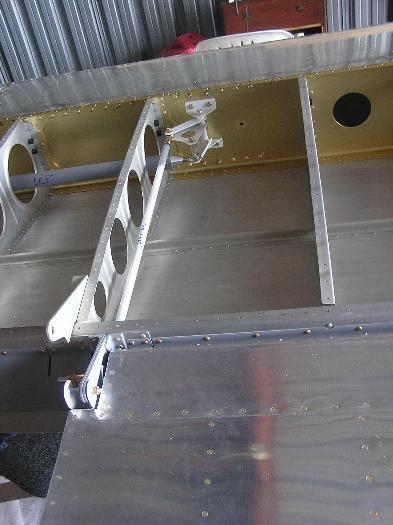
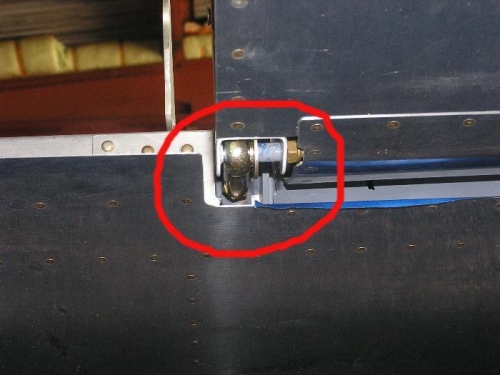
Today we cut all the spacers needed to mount the left aileron & cut the bolt shown in picture 2 to length. The bolt had to clear the skin on the aileron and still have 2 threads showing. In the picture 2, you can see that this was done. I couldn't imagine cutting the bolt that exact. Kieth Thompson, the A&P at the airport, suggested that we thread on a nut to the exact length, cut the bolt with the Dremmel tool and then clean up the threads by running the nut back and forth on the bolt. This was done and you can see the results. We then had to get the bell crank to neutral using a template and the aileron to nuetral using a straight edge and some tooling holes to line it up on. When we had both of these, we then adjusted the short push rod to the correct length and locked it in place with jam nuts. We had a time getting all the various washers and spacers in the right areas but used a new tool from Avery's called a washer wrench. I was told it was an invaluable tool and today, it certainly was. Some places we had to insert 3 washers into very tight spaces and thread them on a bolt that we could not reach. We need to fix an aileron stop in the correct position and then pass some wire down the wing to complete the section on the wing in the manual. We still have to repeat today's work on the right wing also. We have now just over 250 hours total time invested.
Aileron on- Push rod length adjusted to nuetral- Bell crank torqued