Brief Description: Aileron Bell Crank/Aileron Push Rods/All Gap Fairi
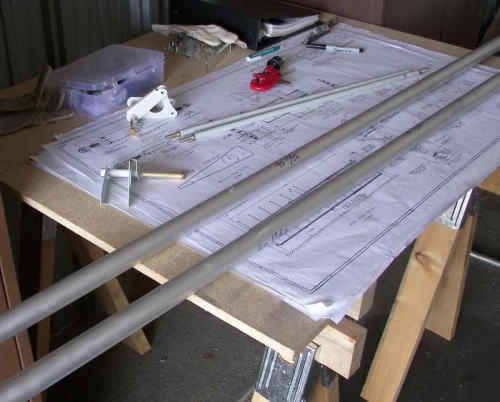
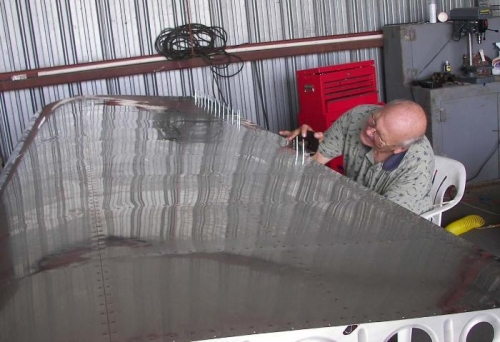
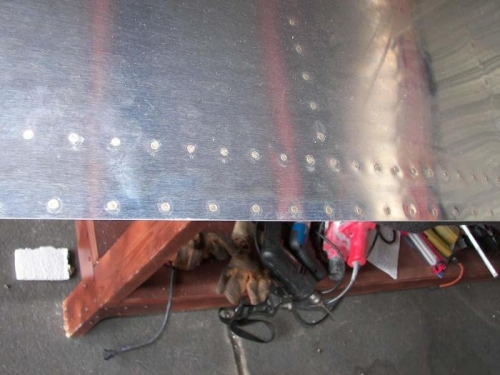
Today was a day when things seemed to come together. According to Claude's idea with the drill press, we were able to drill out the 2 aileron bell crank bushings. We then cut the aileron push rods to length and inserted the rod end bearings. Both of the short push rods are ready now for welding. I have decided to do that rather than trying to drill and squeeze the rivets to hold in the rod ends. I have read that people have a hard time doing that. We will drill the long aluminium push rods for the rod end bearings on these are held on with pulled rivets. I squeezed all the 3-3 rivets that united the aileron and flap gap fairings thus finally completing them. I only had to drill out one rivet and was able to do that without distorting the hole. This was the first flush head 3 rivet I have drilled out and I was uptight. Our kit came 1 month ago today, so in that time, we have learned alot about riveting, plan reading, and many other things...like building an airplane is DIFFICULT. They called yesterday and have shipped the back-ordered right aileron and both flaps. They will come by truck so it will be awhile. Next week, we plan to do something that I have dreaded for a while. We will cut a big hole in the leading edge of a beautiful RV wing and install a landing light.