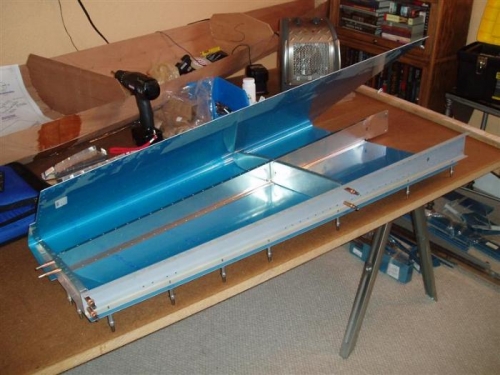
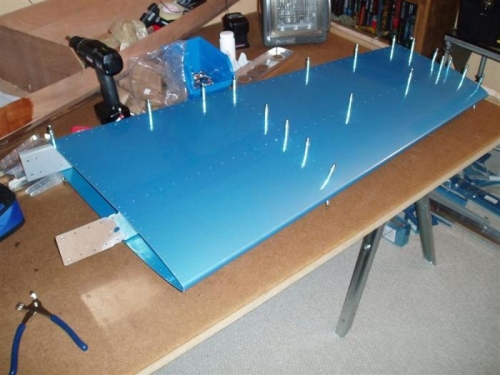
Step 28 - After drilling to #30 (last step), unclecoed and deburred everything and then re-clecoed then together.Step 29 - Here we actually cleco the skin to the framework we've put together. One side is pretty easy to do, but it took a bit of wrestling to get the other side to line up. See pictures 1 and 2. Took about 30 minutes to get it on.Step 30 - Enlarge the holes connecting the rear spar to the outboard main rib to #19. (Good thing I ordered all those funky sized drill bits!)Step 31 - Here we insert the HS-404 and HS-405 inboard ribs (which aren't prepunched) and mark the holes the skin provides.Step 32 - After removing the above two ribs, we flute the two ribs. (I accidently did this before marking where the drill holes would be. I flattened it out as much as I could and it seems fine. I will pay particular attention to these ribs when I rivet them on to make sure they are not affected).Step 33 - Using a rule, marked a center line for the rivet holes.Step 34 - Placed the HS-404 and HS-405 ribs back into place and clamped them down.Step 35 - With HS-405 clamped into place, drilled the holes connecting it to the rear spar and clecoed it into place.