
|

|
|
|
N19MM Contruction Log
|
Date: 12-26-2005
|
Number of Hours: 1.75
|
Manual Reference: 6-3
|
Brief Description: HS Steps 36 - 41
|
|
Step 36 - Drilled holes into HS-405 where it connects to the skin. Used the holes in the skin as the guide for where the holes had to be drilled (basically, match drilled these holes). See picture 1.Step 37 - The inboard portion of the front spar was not predrilled, so here I drilled holes in the forward spar to match the holes in the skin. You can see my blurry picture (2) of what this looked like after I took the skin off.Step 38 - Clecoed the reinforcement angles to the front spars. You can see the two angles jutting out to the left in picture 3.Step 39 - Using a 12" drill bit, I drilled through the front spar, the reinforcement angles, and the nose rib. (Picture 3). You can see where I drilled the first one and clecoed it, and am about to drill the second middle hole. It turns out that that location wasn't the best one (barely drilled into the flange of the nose rib) so I ended up redrilling another inch or so up.Step 40 - Drilled all the holes for the skin. This took awhile, as you have to do both sides and cleco as you go to make sure the fit is tight. It's not that hard, but my hand did get a little tired of working those cleco pliers.Step 41 - After removing the skin, drilled the holes for the "outside" parts of the reinforcement angle, after the bend we created many steps ago.
|
|
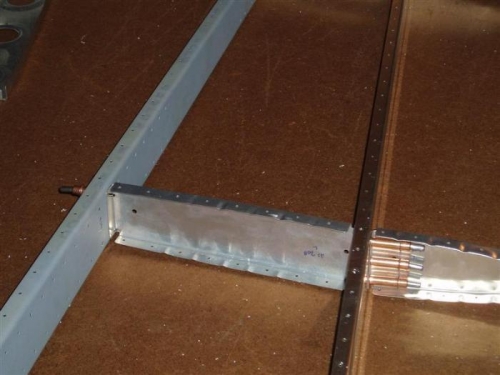
HS405 match drilled
|
|
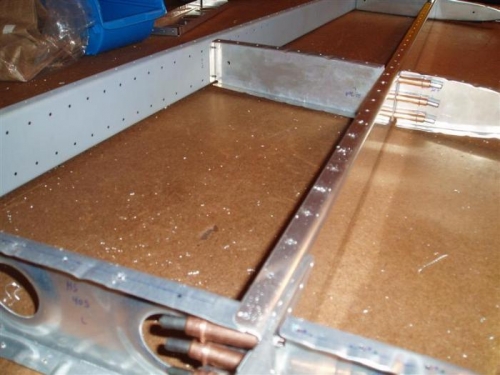
Front spar match drilled
|
|
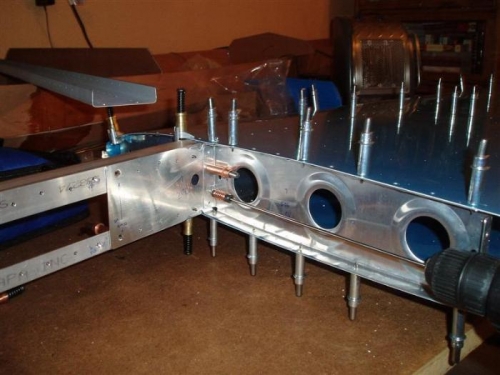
Drilling inboard ribs
|
|
|
|
|
|
|
|
|
Copyright © 2001-2024 Matronics. All Rights Reserved.
|