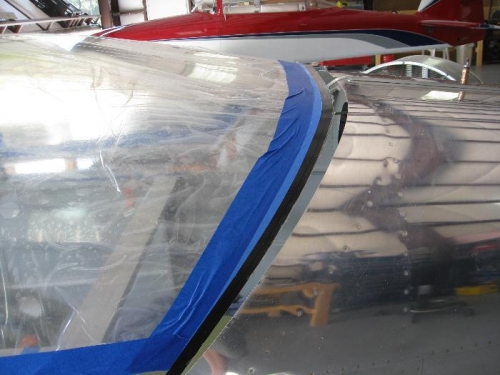
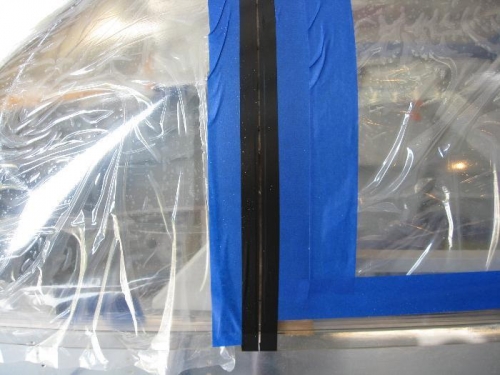
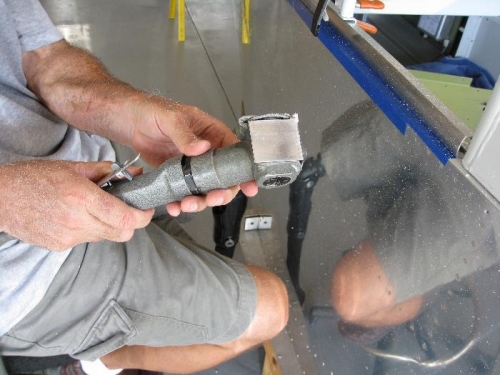
I started by cutting back the protective plastic to the point I could tape the first cut lines. Even though it takes more time to make multiple cuts I think there are good reasons to do it this way. I cut off the handle tube on the top side of the canopy frame to get a good fit. I will replace it latter with a turned bronze bushing. This allowed me to fit the blown bubble very closely to the contour of the frame. I made the first cuts in the back of the canopy to practice my skills for the “big cut” separating the front windscreen for the sliding canopy. Then I cut up from the bottom to get the mould flange off and to see how the sides would pull in. I have not put any holes in the canopy at this point. I used a Fiberglass air pneumatic cutter whith a dimond wheel. I works much better then the abrasive disks and is easier to control.