Brief Description: Building & installing the electric trim servo
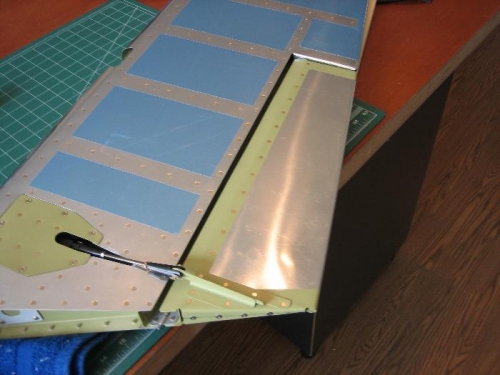
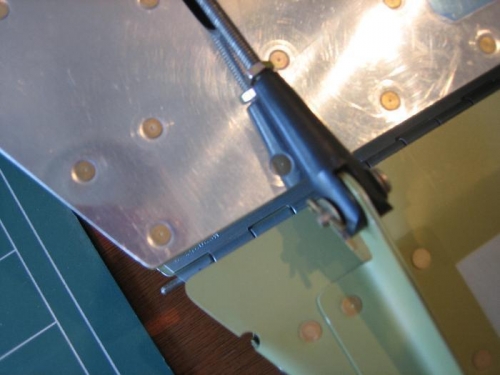
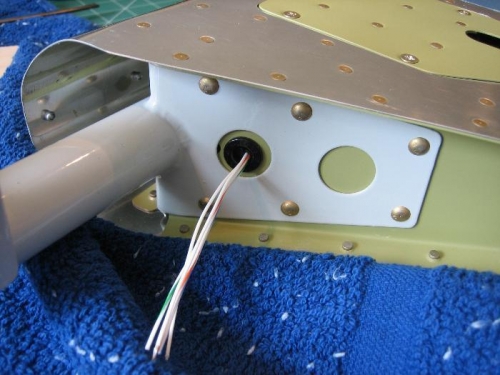
I haven’t touched the plane for almost 18 days now since we were on a holiday in Alaska and British Columbia. We returned Monday, unpacked, paid bills and put the house in order. I decided to kick it off slowly and get my building rhythm back with the trim servo linkage and get it installed. This was straight forward; I used an 11.8 Volt LiPo battery to find full throws and the midpoint and then cut the threaded linkage to the proper length, attached the clevis ends and assembled the unit in the elevator at midpoint with the tab centered. I set the throw to 20 degrees down trim and 24 degrees up. This may need to change to more up trim, but I think from what I have heard and read this is a reasonable starting point.