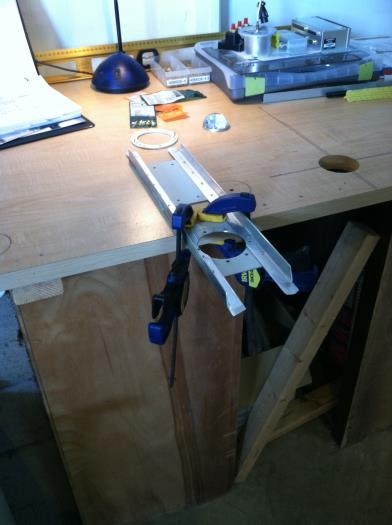
Continued with the assembly of the Magnetometer bracket...
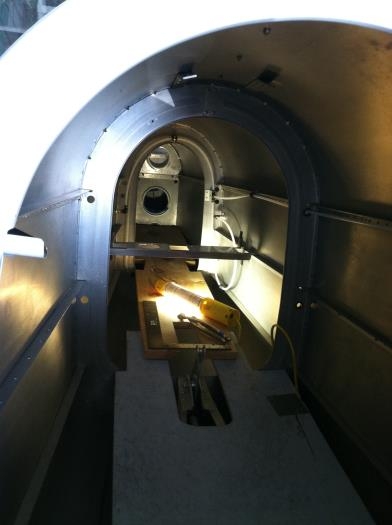
• Purchased a 2.5 " bi-metal hole saw from the aviation department of H-D. • Located the center of the 2.5" hole for the GMU 22 and drill #40 pilot hole. • Using the 2.5" bi-metal hole saw, drilled the hole for the GMU 22. • Deburred the 2.5" hole using (1) file then (2) scotch brite pad • Located the front of the GMU mounting plate (conveniently marked on the plate), this should point along the center line of the aircraft. The GMU 22 does not have to be ON the center line, just ALIGNED with the center line. • Matched drilled the (6) #6 holes for the #06-32 brass screws that are to be used to secure the ring to the bracket plate. I don't yet have these screws, ordered from A-S after unsuccessful searching of the usual local suspects. • Using a framing square located and marked the Magnetometer bracket in the fuse ensuring the right and left sides are exactly the same distance.
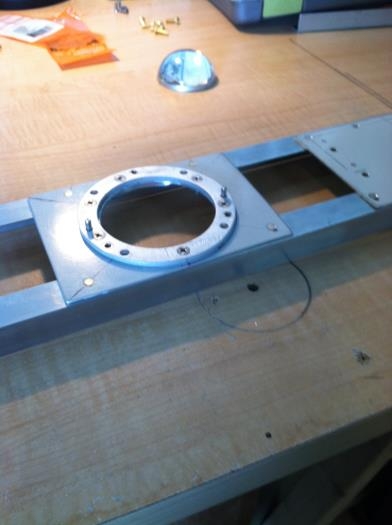
2.5" hole cut for GMU 22
Installation Kit for GMU 22 includes this mounting ring