I started fitting the two flap microswitches to the fuselage, and attached the striker plate to the flap arm. After testing various locations for the components, I decided to flip the switch attach-angle upside down so the switches are closer to the fuselage skin. I did this so the fast-on tabs on the switches are UP (away from the seat belt attach point and the flap tube). This position also gives the striker plate a more elegant approach as it presses the switch arms.
I replaced a non-standard Adel clamp (the one that had been temporarily holding the wire tube to the flap shaft) with a new one.
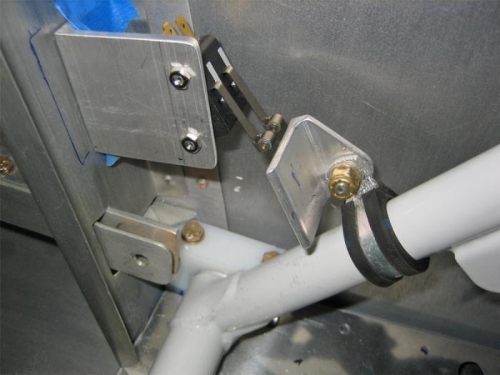
I drilled and bolted the switch attach angle to the bulkhead with two AN3 bolts, washers and nuts, the removed the angles and the striker plate. I trimmed off about 1/4" of the width of the striker plate that won't be needed, then I deburred and primed both parts.
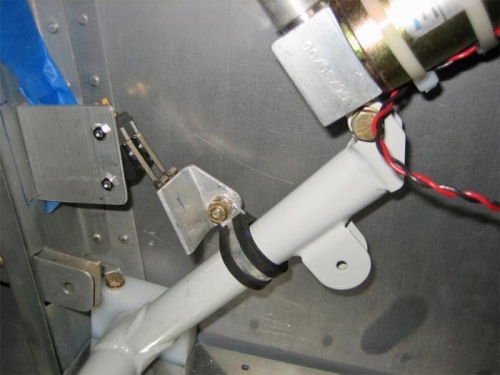
The striker plate on the flap arm closes the two microswitches mounted to the attach angle at left.
Close up view. The small blue mark on the striker plate is where I later trimmed it.
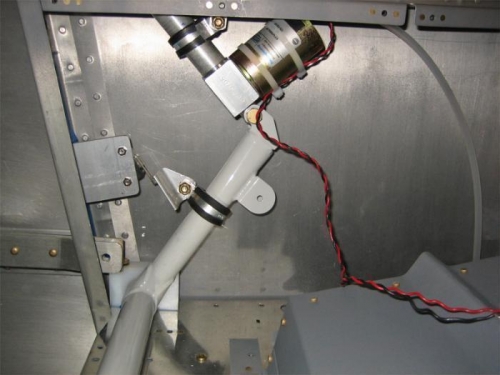
An overall view of the whole assembly, including the new Adel clamp at top.