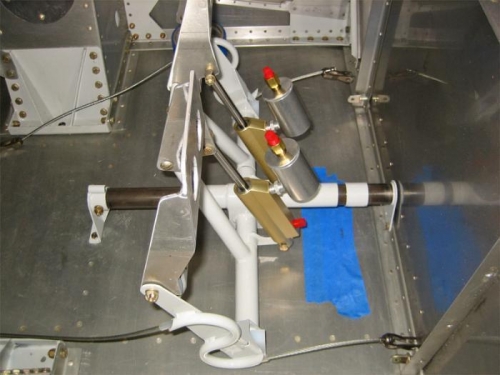
I installed the rudder pedal assembly to the floor, and drilled the holes for the rudder pedal cable clevis bolts through the firewall. I also screwed the A-600 brake reservoirs to the master cylinders to check their clearance from the firewall with the pedals forward. As other builders have noted, I will have to avoid using the most forward hole in the slider bar when I position the pedals.
Next, I began installing the flap limit microswitches to the fuselage bulkhead, and the switch actuator tab to the flap arm. For now, I attached everything in place with tape, just to get an idea of the proper placement of all the components. I had to trim off about 1/2" of the angle that the microswitches are attached to. This will give it more clearance from the sidewall piece that covers the flap actuator.
Finally, I de-riveted the rudder pedal slider-latch assembly that I built last week. I didn't like the way the part "leaned" a bit, so I'll re-prime all the parts and and re-rivet them. I think the part leaned because a). I used a Dash-12 rivet instead of a Dash-11, and b). I didn't clamp all the parts together tight enough. Lesson learned.
Rudder pedal assembly attached to the floor! Clevis bolts installed through firewall.
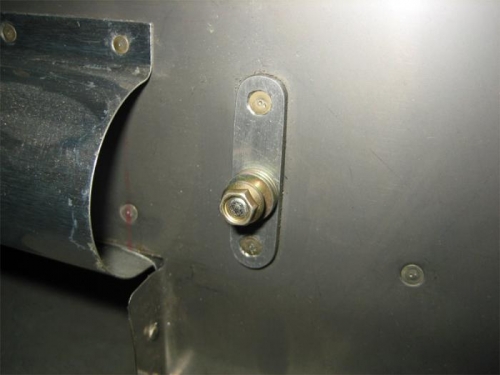
The front side of the clevis bolts that run through the firewall.