
|

|
|
|
Buck's RV-8
|
Date: 1-16-2008
|
Number of Hours: 3.10
|
Manual Reference:
|
Brief Description: Front seat; side console; rear seat map light
|
|
I installed the final 12 platenuts that will attach the front seat assembly to the airplane. Four were under the forward cabin covers, two were in the spar cap, and six were in the under-floor structure (shown in photo #1 below). The seats are ready to paint and install.
Next, I scuffed, cleaned, dimpled, and primed the attach angle that will reside under my custom right-side console in the front cockpit. (This is the angle that would have supported the stock switch console -- which I'm not using. I'll rivet the angle to the skin in order to fill the pre-drilled skin holes, and perhaps I'll be able to attach a couple of Adel clamps to it when I wire my console.)
Next, I installed the rear seat map-light, which is an "eyeball"-type light from David Hoffman Products. The rocker switch for this light will be directly adjacent to the light fixture. (By the way, I see a lot of RV-8s with map lights mounted dead-center in this space. After sitting in the rear seat, I think moving the light a few inches aft makes it a bit more user-friendly for the rear seat occupant.)
Finally, I unpacked and played with my new empennage fairing from Fairings, Etc. (Of course, I'll have to mount the tail before the "fairing fun" really begins... a minor detail.)
|
|
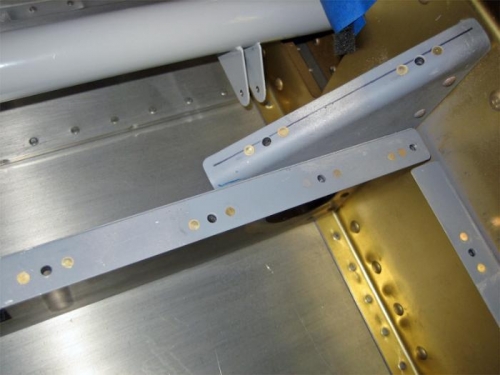
Some of the final 12 platenuts that will secure the front seat.
|
|
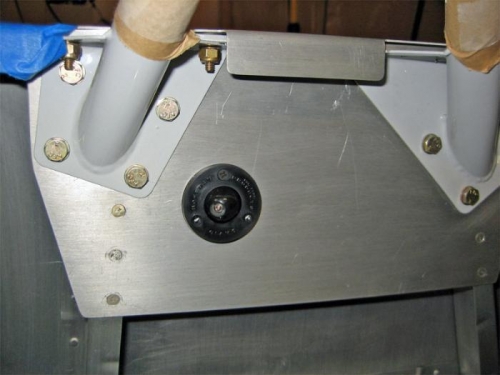
The rear cockpit map light.
|
|
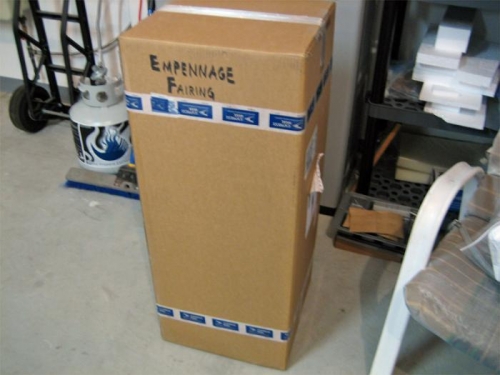
New goodies for the airplane!
|
|
|
|
|
|
|
|
|
Copyright © 2001-2024 Matronics. All Rights Reserved.
|