
|

|
|
|
Buck's RV-8
|
Date: 9-29-2007
|
Number of Hours: 1.90
|
Manual Reference:
|
Brief Description: Autopilot pitch servo mount; elevator bellcrank
|
|
Today I began installing the TruTrak autopilot pitch servo and the elevator bellcrank. I began by drilling the old, stock bellcrank attach angles out of the airframe. (It always seems strange to un-do work that was so carefully done in the Phillipines for my benefit, and for which I paid good money.)
Next I mated the old angle mounts with the new ones provided by TruTrak. I clamped them together and drilled the mounting holes in the new angle, then deburred them.
Next, I test-assembled the bellcrank and the autopilot servo components. I wanted to make sure I understoood exactly where everything goes. It's tough to do this by looking at TruTrak's drawings. All they show are the major components. Astonishingly, they provide absolutely no guidance as to how the included hardware is to be attached to the servo arm. I figured out where each of the bolts goes (they're all different and they only fit in one particular place, so it's pretty intuitive. There are a couple of large fender washers, though, which could go one of several places. I'll have to research this.
|
|

Half of the pre-existing elevator bellcrank bracket has been drilled out. Second half to go.
|
|
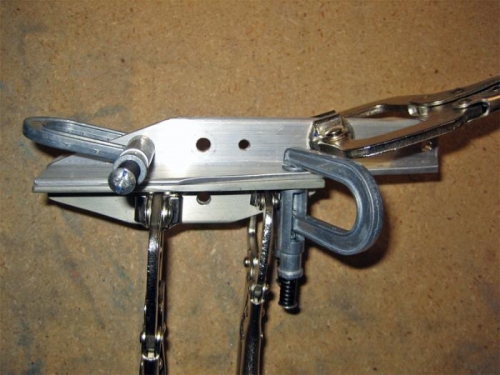
I clamped the brackets, old and new, back-to-back and drilled the mounting holes.
|
|
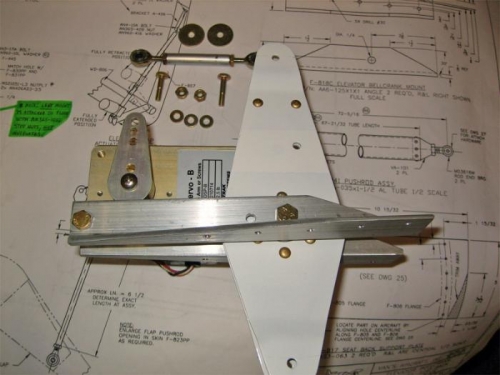
Assembling the servo, servo-arm, bellcrank and mounts.
|
|
|
|
|
|
|
|
|
Copyright © 2001-2024 Matronics. All Rights Reserved.
|