Brief Description: Riveting skins on the horizontal stabilizer
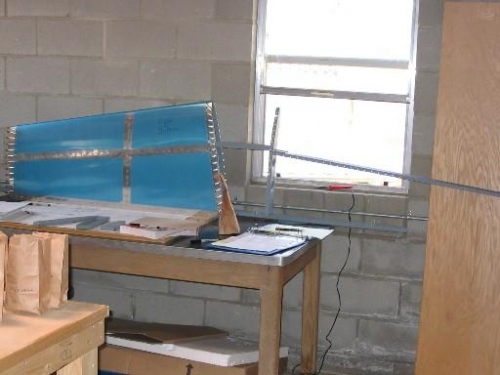
Here is the right half (you're looking at the bottom) of the horizontal stabilizer. Note that the inboard rivets are done. The rivets on the root and tip rib as well as along the rear spar still need squeezing. The rear spar is not riveted into place until both left and right skins of the HS have been riveted. The rear spar is the last step in the riveting process.
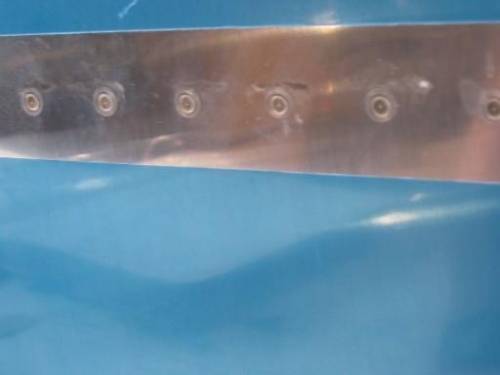
When I began riveting the HS skins with the flush set, I was getting a scuff mark along one side of the rivet line. I asked for advice about why this was happening from the RV-7 builders group on Yahoo. The response was where the spar flange curves to the web is more rigid and causes the scuff marks. The fix was to place masking tape either over the rivet line or the flush rivet set. I purchased a role of painters masking tape because it releases from the surface easily. Voila! No more scuff marks!
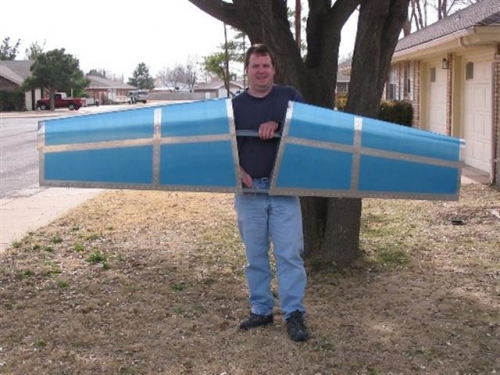
All rivets inset from the outer edges have been installed
Scuff marks after riveting. Learned to protect surface with masking tape from now on.