Brief Description: Horizontal Stabilizer Front Spar Part 1
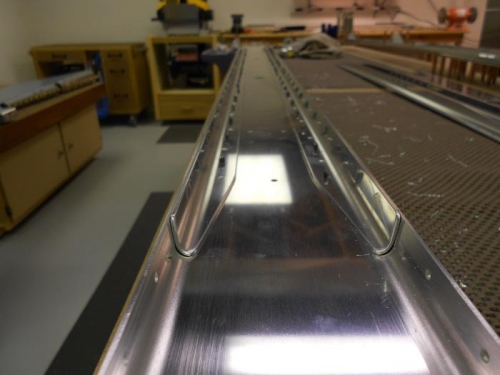
I deburred the edges and lightening holes of the front spar using my die grinder with a 1 inch scotch brite wheel installed. I started with the medium scotch brite wheel, and finished up with the fine.
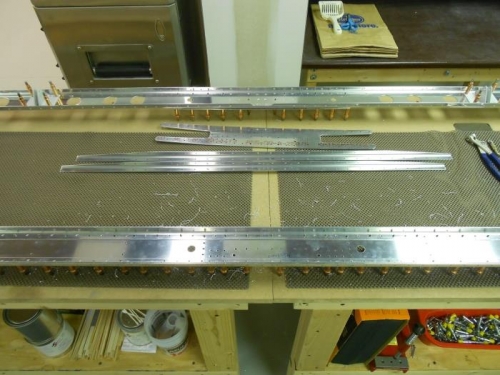
I clamped the spar caps on the inside of the spar flanges to secure them in place prior to match drilling the holes from the spar web to the spar caps. There are no pre-drilled holes in the spar caps so the only way to secure them in place was to clamp them against the spar flanges. I have some handi-clamps from Avery Tools that I used to clamp the spar caps in place. These are the cam lever action clamps with the rubber jaws and they worked well for the task.
I match drilled #30 all the 1/8 inch holes from the spar web to the spar caps. I started in the middle and worked my way outside both left and right. I drilled every other hole, clecoing the spar cap in place as I went, then went back and drilled the remaining holes. Once this was done, I removed the clecoes and deburred all the holes that were drilled in the both sides of the spar caps and spar web.