
|

|
|
|
Bill's RV-14A Project
|
Date: 1-11-2014
|
Number of Hours: 1.50
|
Manual Reference: 7-12
|
Brief Description: Rudder Trailing Edge
|
|
We riveted the left and right rudder skins and trailing edge together using the method described in Section 5.8 in the plans. This surprisingly went a lot better than I had expected.
AN426 flush head rivets were inserted into each hole from one side, then rivited with my rivet gun and a back rivet set on the opposite side. This was done while the trailing edge was held firmly against the steel back rivet plate inset in my workbench. The desired result is a double-flush rivet, i.e flush on both sides.
The rivet gun pressure was set low (22 lbs psi). I practiced beforehand on some scrap material and the left over piece of the VA-140 trailing edge. Once I felt like I got the hang of it, we moved on to the real thing.
The holes in the both skins were dimpled in a previous step, so the manufactured head sat nicely in the dimpled hole on the one side, but after riveting on the opposite side, the shop head looks like an "acorn" sitting in the dimpled hole. The plans described this was the way it should look and warned not to try and "fill" the dimpled hole when riveting.
Picture 2 shows a closeup of the shop head side. They look like acorns in the dimple, and are almost flush with the skin. I am happy with the results. I ran the rivet gun about 4.5 to 5 seconds to get this result. The back rivet set starts parallel to the rivet shank and ends up perpendicular to the skin, gradually changing the angle over the 4.5 to 5 seconds it took to set the rivet.
We started in the center and worked our way toward the top and bottom of the rudder, riveting every hole in this manner. As the holes in the center of the trailing edge were completed, we alternated between the top and bottom sides every 4 or 5 holes.
The result was a nice and staright trailing edge.
|
|
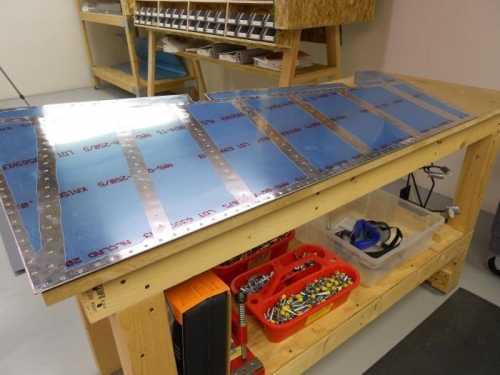
Trailing Edge Riveted
|
|
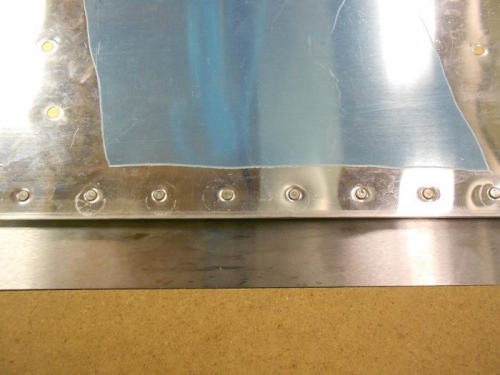
Trailing Edge Closeup
|
|
|
|
|
|
|
|
|
Copyright © 2001-2024 Matronics. All Rights Reserved.
|