The rudder skins were mated together following the steps on page 7-9 and also in Section 5.7. Two people were needed for this process and Ophelia did a great job holding up the left skin and rolling it in place as I riveted the left skin to the shear clips on the right skin.
The trailing edge was bonded to the rudder edges with double sided tape as outlined in Section 5.7. A small dab of the red pro seal RTV was applied to the aft end of each stiffener as we worked our way up from the bottom set of stiffeners to the top. The RTV will tie the stiffeners together to help prevent the skins from cracking due to vibration.
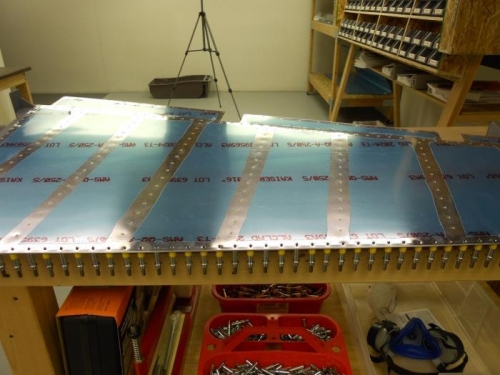
As we worked our way up from bottom to top, the skins and trailing edge were clecoed together to keep everything aligned. Once all the left stiffeners were riveted to the shear clips, we went back and clecoed every open hole in the skins and trailing edge to get a nice straight trailing edge.
Riveting the trailing edge and skins together is one of the last steps in the rudder assembly and will be done later.