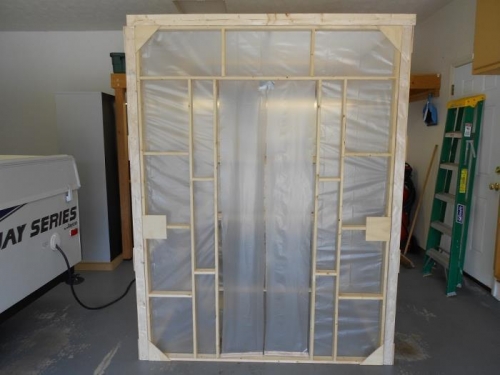
I attached the plastic sheeting to the inside of each of the four panels and top using a staple gun. Around the perimeterr I doubled up the edge of the plastic as I stapled it to the wood. I hope this will reduce the tendency of the plastic to tear away from the staples.
Each of the four panels are held together using t-nuts and bolts at the top and bottom. This allows the whole structure to be disassembled and stored away easily.
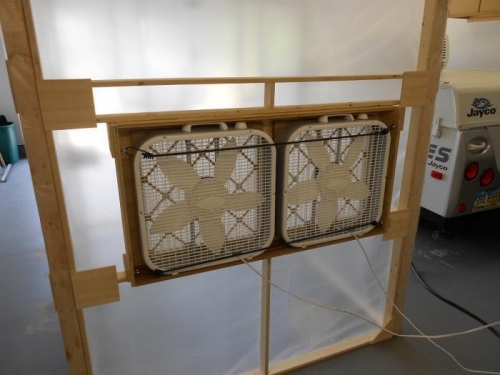
The box fans are held in place using two bungie cords acroos the top and bottom.
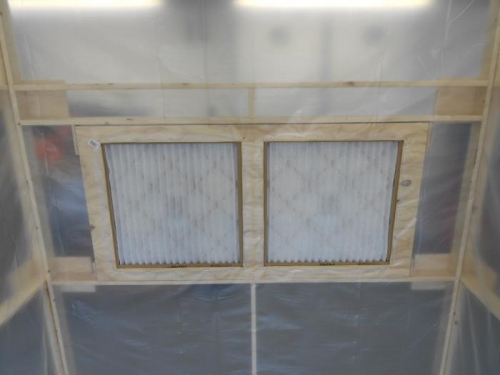
On the inside, the plastic sheeting was cut away where the holes are located for the filters. When the fans are turned on, the air is pulled through the spray booth from the front and out the back through the filters.
Where the front door is located I cut two plastic sheeting strips and hung them vertically in the doorway. At the bottom of these plastic strips, I secured a piece of scrap wood to the plastic to weigh it down a bit.
The inside dimensions of the spray booth will allow the spray table to fit inside.