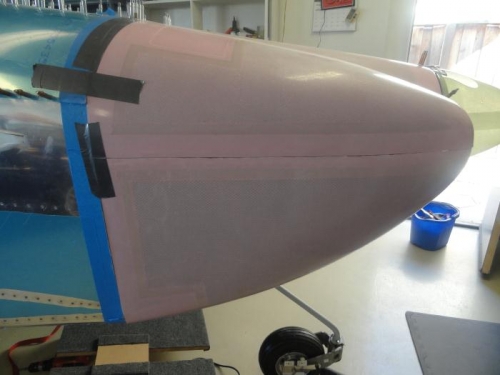
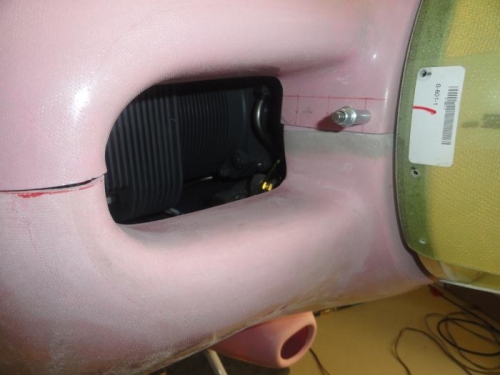
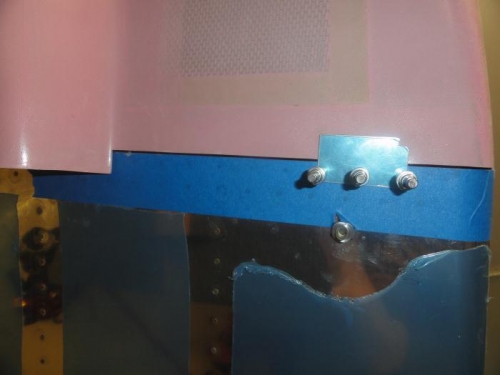
Continued work on the cowl. Sanded a little more on the top cowl to line things up at the front so I could drill a couple holes for clecoes to hold it together on the inboard forward sides of the air intakes on each side. Measured and marked the spots for the three holes in thte top cowl at the inlets. Drilled holes and positioned the lower cowl on. Lined up the lower cowl as best I could and drilled holes through the forwardmost hole into the lower cowl flange. Clecoed on the lower cowl to see the fit and then removed. Taped around the rest of the firewall and skins as a reference for trimming the lower cowl. Put the lower cowl on again and marked the reference lines to cut on the bottom. Took off and made the first cut. Placed back on and noted it was close and removed again. Made final cut on the bottom, placed back on and looks good. Marked reference lines on sides. Made two little plates to cleco on the firewall flange to hold the aft edge of the bottom of the cowl up, which along with the clecoes at the front mean I don't have to use tape to hold it on anymore. Cut sides to fit. All looks good so marked the lines on the sides for trimming. Removed cowl and trimmed sides. Placed cowl back on and it fits pretty well. Will probably have to file and sand the top cowl a little to bring it a little further back to close a little bit of a gap on the bottom of the lower cowl. I'm pretty happy again about how this is turning out.