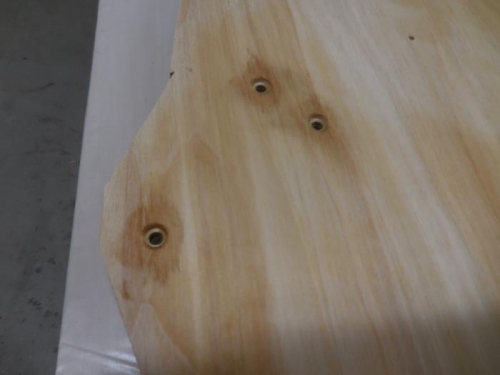
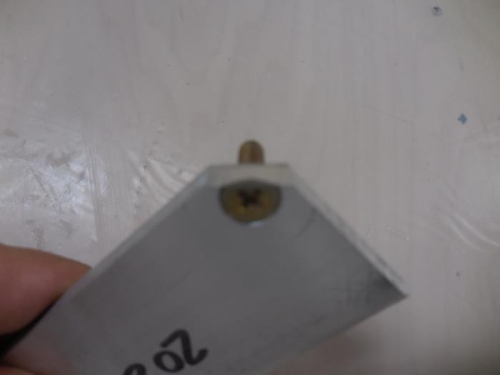
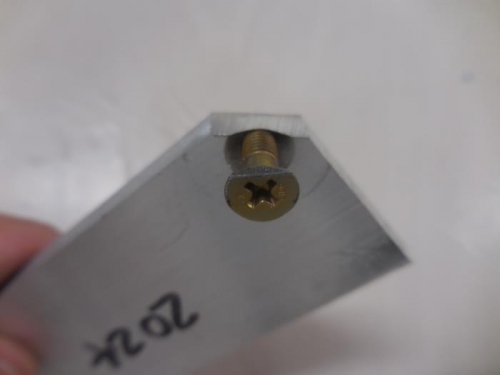
I borrowed a micro stop countersink tool from work and used a #10 piloted cutter to countersink the holes in the firewall (#12 drill holes). I adjusted the microstop on some scrap and set the depth to make the screws perfectly flush with the firewall face. I then sanded the firewall with my DA sander with coarse paper to open the grain. Vacuumed the surface to remove sanding dust and then wiped it down with a wet (water) rag (again to open the grain. While it was drying I decided to sand a little flat on each of the six screw heads. This will leave a little cresent shaped pocket that I can pack with flox before applying the BID. The idea is that this will help resist spinning when installing the pully bracket nuts. There is no access to these screws when assembled (centersection spar will be up against the firewall in this area. I use a scrap piece of aluminum to hold the screws up again my disk sander. This made fast accurate work out of the job. This whole idea is probably solving a problem that does not exist, but what else was I going to do while the firewall dried. I then mixed up some pure epoxy thinned a little with alcohol and sealed the holes and countersinks with multiple coats of epoxy applied with Q-Tips.