
|

|
|
|
BOB'S WEB SITE
|
Date: 8-3-2020
|
Number of Hours: 3.00
|
Manual Reference: Section 37
|
Brief Description: Drilled top cowling; started fitting bottom cowl
|
|
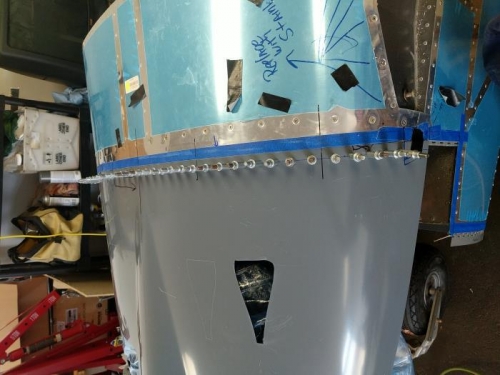
Satisfied with the fit, I removed the top cowling and drilled #40 holes then returned it to the plane, made sure everything fit, made a support block to keep the hinge tight to the cowling and drilled the hinges using the holes in the cowling as a guide. After every five holes, I blew air in there to remove any chips etc.
Once that was done it was time to fit the bottom cowling. I made another spacer for the spinner back plate to be sure the bottom of the cowling also had a 3/16" gap. Then raised it into place. The fit was awful as these things usually are. The area around the nose was OK, not great, but OK. I will plan on laying up some epoxy in the future to smooth everything out.
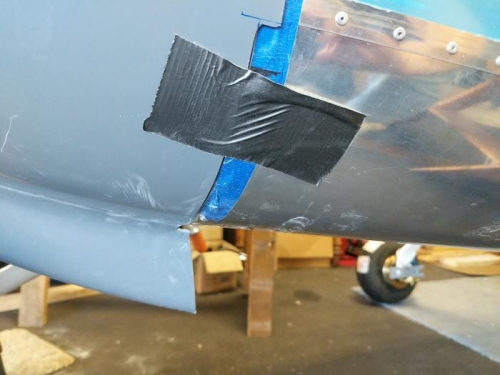
I drilled holes in the front to hold the thing in place, then removed material on both aft bottom corners to raise it slightly and get the thing to sit flush on the corners and bottom.
That closed up a pretty big gap on the left side but it's too early to put material back and recut anything. I still have to take material off the side and that will help close it slightly and then we'll just have to see. With these cowlings, you do a little nipping here, and it'll show up somewhere else.
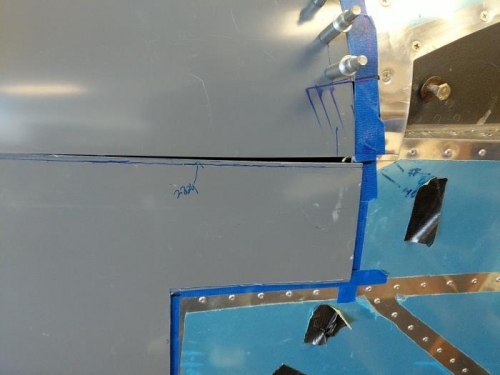
I might suggest leaving 1/4" from the scribe line on the horizontal sides of the bottom cowlting rather than the 1/8" that the instructions call out.
All in all, things are looking good.
|
|
|
|
|
|
|
|
|
|
|
|
|
|
|
Copyright © 2001-2024 Matronics. All Rights Reserved.
|