Brief Description: Countersunk Stringers, Riveted Stringers Together
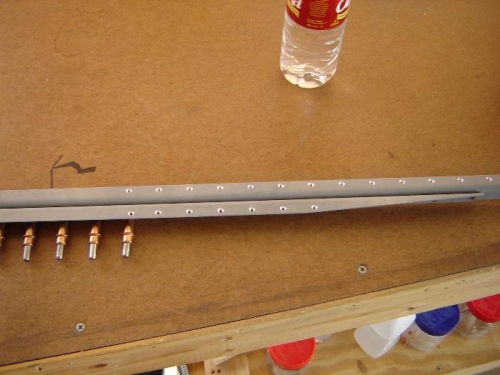
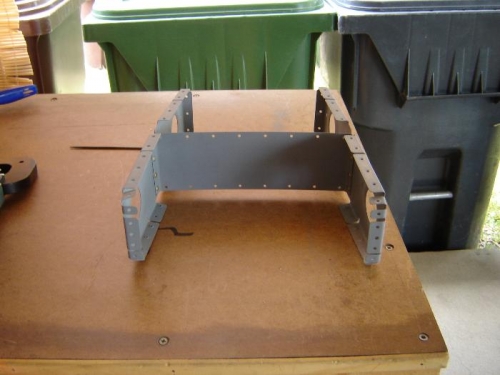
Today before work I countersunk the stringers which took longer than I expected. For me the amateur, it is pretty much trial and error on how to setup the countersink. I generally try to start shallow and increase the depth until the countersink stops are set at the correct depth, and that depends on what you will be riveting together later. The stringer's countersink, for example, will have the HS skin dimple laying it. So what I have done is to countersink until a 426 (flush head rivet) fits flush, then add 2 clicks to the countersink stops to account for the skin thickness. There are pages and pages of opinions on how to countersink properly on the building forums. Some people believe that the skin dimple needs to lay flush within the countersink. I heard from someone at Van's that this is not true because during the riveting process the skin will be pressed into the countersink more fully anyway. If you countersink too deep, it enlarges the rivet hole and then the rivet will lose some surface area on which to squeeze onto. The first photo is the stringer showing the countersinks and the last two are of the inner most inboard ribs that are riveted to the stringer web that will be riveted to the stringers in the next step. Sounds like a lot of riveting to me.