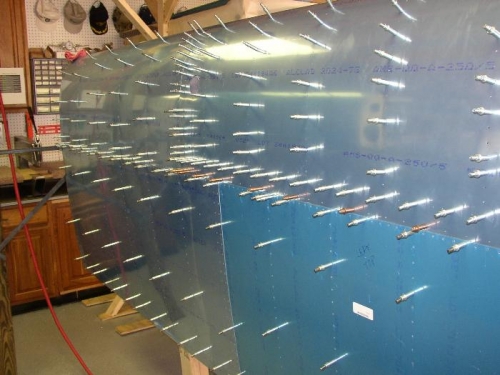
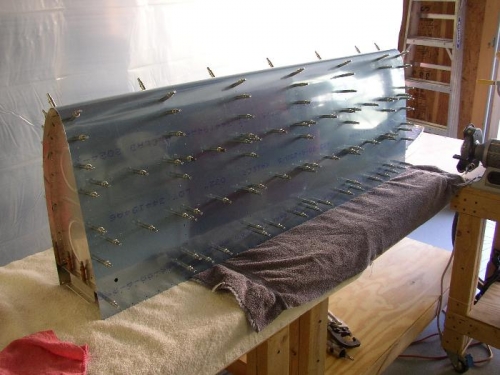
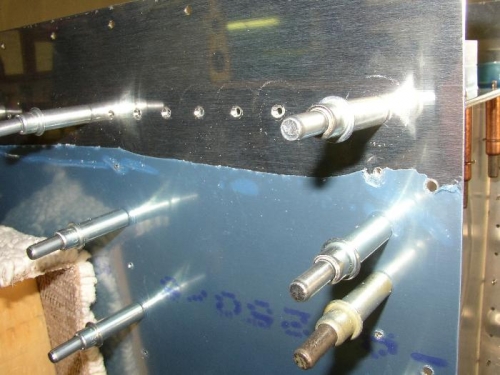
more photos of todays work effort. Photo #1 shows the fuel tank cleco'd in place on the left wing. The skins butt up against each other nicely although there was a very small gap between the lower wing skin and the tank skin althgouth not enough for me to worry about. Not sure how I would fix it anyway. Photo #2 shows the left fuel tank just after removal from the wing. Finally photo #3 shows the start of countersinking the holes that will attach the skin to the baffle. these holes are countersunk as opposed to dimpled to facilitate sliding the baffle into place with tank sealant in between after all the ribs have already been riveted into the skin.
Left wing fuel tank cleco'd in place - skins fit pretty well
Left fuel tank in all of its cleco glory - tomorrow it gets disassembled
Countersinking the holes to attach the tank skin to the tank baffle