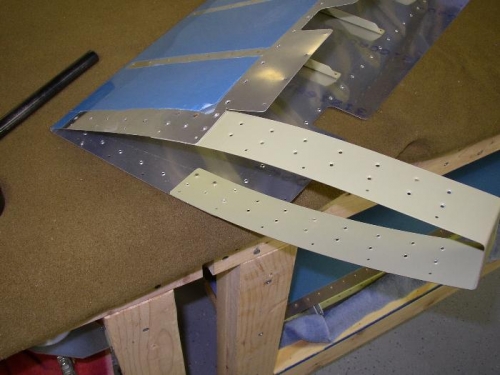
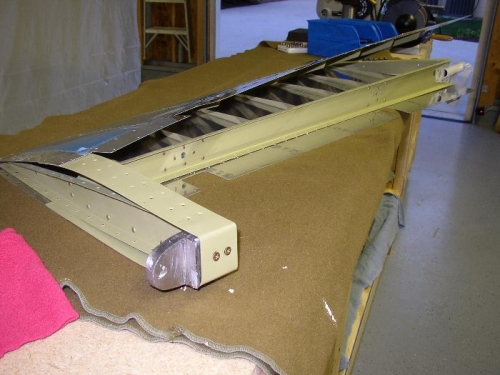
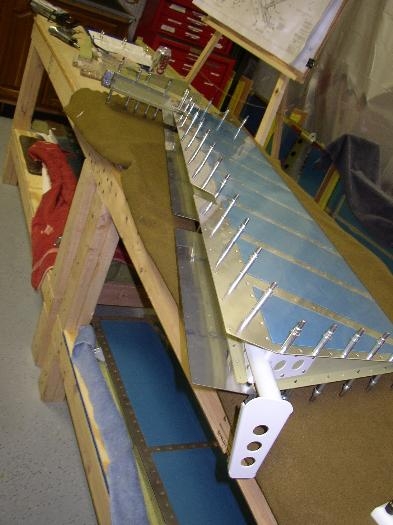
Next step is to rivet the counterbalance skin to the elevator skin as shown in picture one (only two rivets are used until the skeleton is put in place as shown in picture two (note the counterbalance weight (lead weight) in the foreground of picture two - it is used to balance the controls and reduce control flutter). Finally in picture three the skin is cleco'd to the skeleton and ready for riveting. And that is where I stopped for the day.