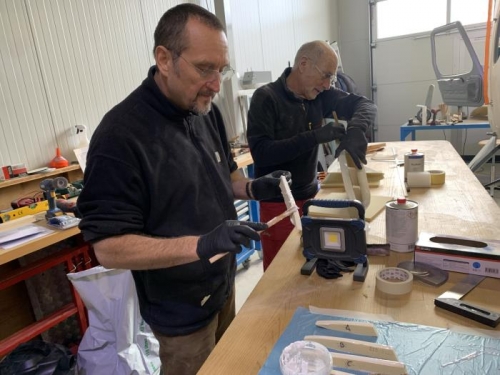
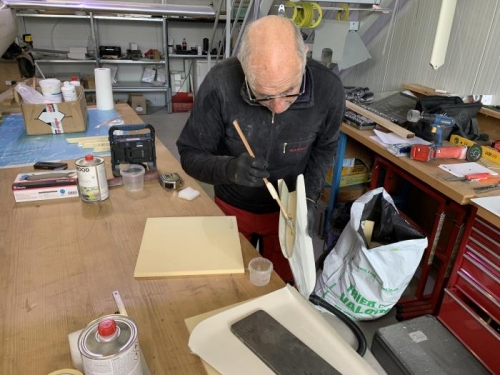
Step 31: Install the Strake Ribs The four strake ribs run laterally across the strake and are spaced at roughly equal intervals. The exact placement of Ribs A, B and C is very non-critical— they are essentially positioned wherever they fit best between the skins of the strake Strake Rib D must be placed with a bit more precision to ensure that it clears the leading edge of the stabilizer. The templates for all four ribs were sized a bit over-wide so that they could be sanded to fit. Do so now, removing just enough foam from the bottom edge of each rib to achieve a snug fit between the skins Note: The ribs should not fit so tightly that they distend the skins.
With the ribs friction-fitted between the skins, mark the centerlines of Ribs A, B and C on the fuselage flanges of the strake. Then hold the strake in position against the fuselage and stabilizer, carefully aligning its leading edge on the strake centerline marked on the fuselage side. Reach inside the strake from the inboard side and push Rib D aft until it’s tight up against the leading edge of the stabilizer. (You may find this easier to accomplish with the help of an assistant.) Then remove the strake (with Rib D still in place) and mark the location of the forward edge of Rib D on the strake’s fuselage flanges. When you bond the ribs in place, center Rib D on this mark; this will have the effect of moving the rib 1/4" forward, providing necessary clearance between the rib and the stabilizer leading edge.