Brief Description: Closed the TE with Sealant, Riveted the Side Ribs
Finally I had both ailerons at the same stage of construction so I could seal the TE using only one cartridge. I had cleaned all of the skins the day before, but gave them a final clean to eliminate any dust that settled since then. I made some final tweaks to the TE for length, then got out some maroon ScotchBright and scuffed the surface. Wiped down the TE with more Acetone until it came up clean, then started applying sealant.
I bought an attachment for my sealant gun that can roll on the sealant. This is a much cleaner way to do it than a popsicle stick and uses much less of the messy stuff. I finished applying sealant to both TEs and still had half a cartridge left.
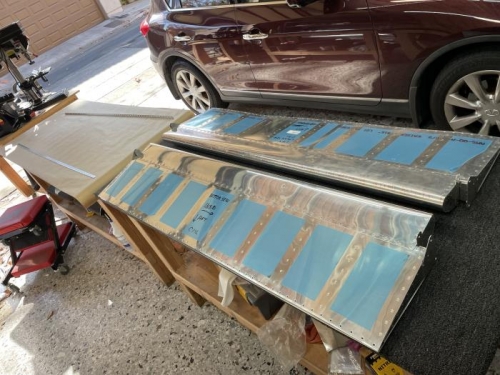
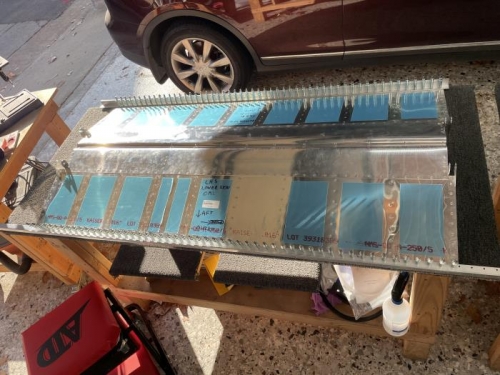
Clamped angles on the bottom skins to keep the TE straight while curing and populated clecos in all of the holes then set the ailerons aside. It's been a little chilly here in SoCal with temperatures dipping well into the 40's at night, so I figure it'll take about 4-5 days to cure fully. I set aside a sample blob so I can check the cure.
I finished off this session by installing pop rivets in the end ribs on both R/L sides and installing them also in the RH aileron c/t the tube and nose skin.
The only thing left is to rivet the TE after the sealant is cured.
Throughly cleaned all of the mating surfaces with Acetone
Used a 1 in. roller attachment to apply the sealant. Very clean and efficient with little waste.
Aileron done except for riveting the TE after the sealant cures fully