Roughed up the TE with some Scotchbright and used painters solvent (replacement for Naptha) to clean all the residue off from the roughing process. It took quite a number of passes with fresh lint-free disposible sheets to get all of the Scotchbright residue off the TE. I made a final pass over the skin mating surfaces which I had cleaned in the previous session.
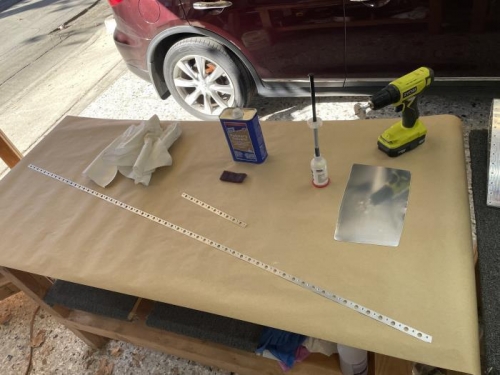
Once the sealant was mixed I used a sealant roller I got from Brown Tools to apply the sealant. It's much easier to roll it on instead of using a popsicle stick. An added advantage with the roller is that it doesn't put much sealant into the countersinks so there's a lot less squeezeout from the holes to deal with after cure. A good substitute to the solid roller I have is a foam paint roller that you can get from Home Depot. Whatever you do, don't use a fuzzy roller as it'll shed fuzz. I also wrapped the roller in painters tape so when I was finished I just removed the tape to clean up.
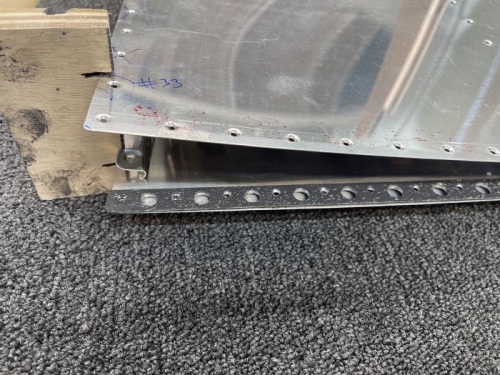
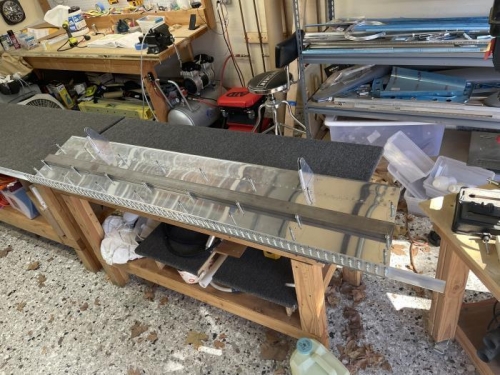
The two TE sections were carefully positioned and sandwiched between the skins. I put my aluminum angle over the trailing edge to keep it perfectly straight and clekoed the TE and main ribs together. It'll need about four days to cure due to the chilly temps we're having in SoCal right now. I'll come back to the flap to finish out final riveting on Wednesday.
Prepping and cleaning the TE
I used a roller to apply the sealant which makes for a much less messy install