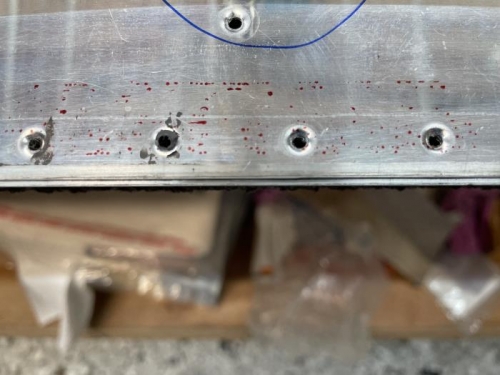
The sealant had been curing for almost a week because of the cold weather (for Southern California). The aluminum angle stuck to the skin in a couple of places, but it was easy to break it free. A number of the holes and dimples had some overflow of sealant blocking them so I carefully used my drill to cut as much of the sealant from the hole as possible and any remaining sealant was removed with a plastic scraper.
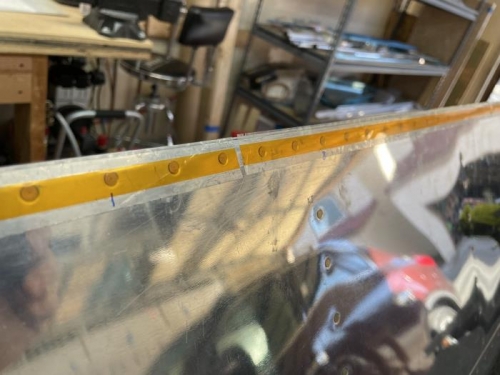
Trailing edges holes were populated with rivets and held in place with rivet tape. I decided to use back riveting this time to initially set the TE rivets instead of doing it with the squeezer. I marked the order of riveting for the first 15 rivets and started. After the first 15 I moved from side to side on the rest for the initial set.
For the final set I used the Cleaveland Tool TE angled squeezer set. I followed the same riveting order more or less and completed the riveting. Results were very good and the TE remained straight throughtout the riveting.
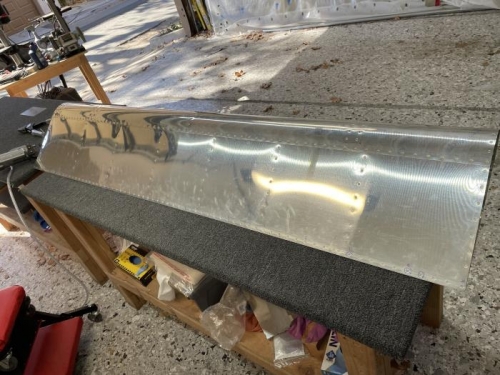
The skins were pop riveted to the main ribs and solid rivets set in the inboard and outboard ribs. The right hand flap is completed!
Some sealant filled the dimples. I used a drill and phenolic scraper to remove it.