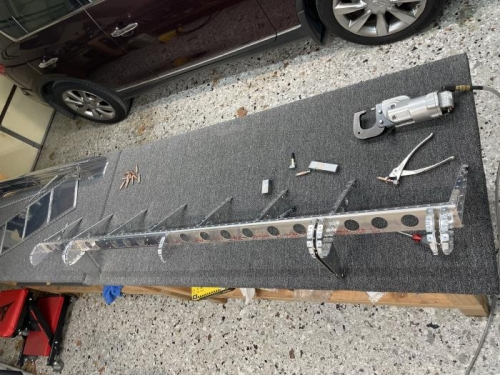
I've stopped priming my parts because of the labor involved. Started off by riveting the hinge bracket sub-assemblies together. The rod end rib sub-assemblies were next. Then I started riveting the internal skeleton together. The spar, hinge ribs, nose ribs and main ribs were riveted into place with minimal difficulty. I did have a couple of rivets to remove in the sub-assemblies, but they came out easily.
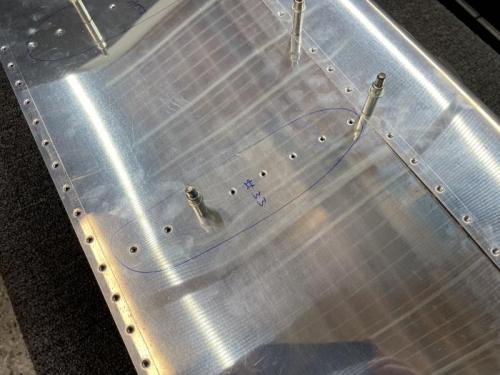
The pieces were reassembled so I could do the drilling operation for the #33 holes where you use pop rivets. This step isn't until the end of the build, but if you do it the way the plans call it out you leave in some metal chips from opening up the #40 holes to #33. I carefully marked all of the holes needing upsizing. On the LH flap I mistakenly drilled out some #40 holes I shouldn't have, so I was extra careful marking the proper holes this time. Completed the drilling, disassembled and blew out the metal FOD.
Assembled the skeleton, nose skin and top skin. Riveted the spar and ribs to the skin per the plans.
Skeleton being riveted together
Marked all of the bottom skin holes for drillout to #33 for MK-319 pulled rivets
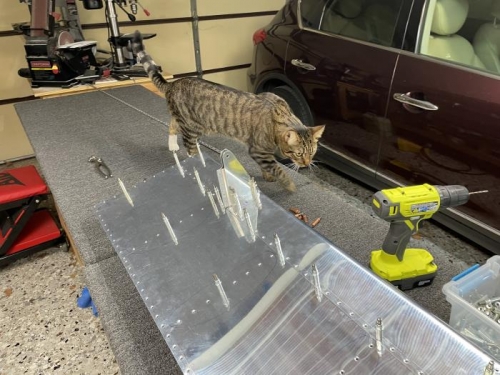
The FAA (Feline Assembly Auditor) stopped by to inspect my work