Brief Description: Final deburr, match drilling and dimpling
This was the most productive session I've had so far in this build. I wasn't happy with the short piece of TE wedge because the gap between the two pieces was a bit bigger than I liked. Fortunately, I had enough wedge stock to fabricate another one turned out much better. Both TE pieces were countersunk.
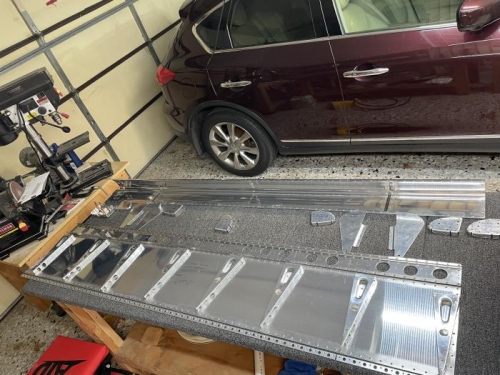
Once the initial assembly was complete I matched drilled the hinge bracket attach holes and the nose rib holes per the plans. Did a final deburr of the match drilled holes and disassembled everything.
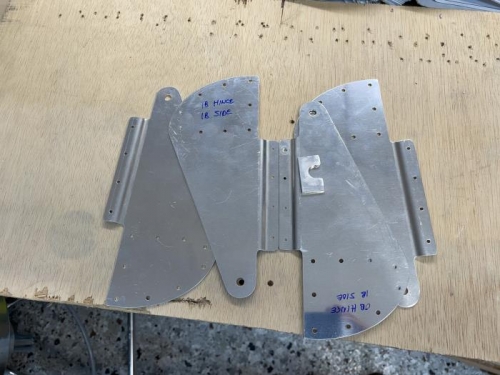
The hinge bracket attach holes were countersunk using the special tool I fabricated for the LH flap. No issues so far.
Last step was to dimple everything. After a too-long dimpling session I was done and ready to quit for the day.
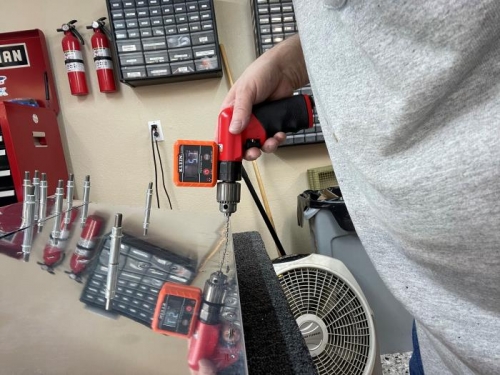
Drilling the trailing edge using a digital level to get the proper angle WRT the skin