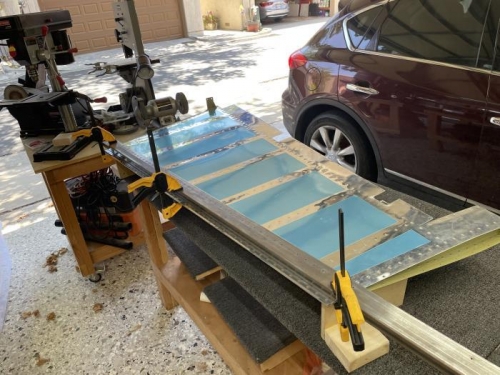
I first did a partial set of the TE rivets using my squeezer with a pair of flat sets. I alternated the setting the rivets as described in Section 5.8. Once all of the rivets were partially set, I clamped a heavy steel bar on the skin. Thinking back I should have done it for the partial set, but it didn't occur to me at the time.
I got out my control surface squeezer set from Cleaveland tool that had a 7 degree angle (matching the TE angle) and started doing the final squeeze alternating back and forth. The steel bar also acted as a guide for properly positioning the squeezer. The end results were pretty good with the shop heads running slightly proud. I did check with Vans and it's OK to be slightly proud as it won't affect the aero qualities at all.
I did a final check with the laser levels and found the hinge line, upper and lower corner almost in plane. The lower corner was just about 1/16 in. just out of plane. A further check showed almost the same amount of rocking on either side when placed flat on the table, which is exactly what you want.
The straightness of the TE was well within tolerance, but it wasn't dead straight like my scrapped #1 rudder was.
So it looks like I was able to build a rudder with a more or less straight TE and virtually no twist. The only thing left is to roll the leading edges.
Clamped a steel bar near the trailing edge to help keep it straight while riveting