After letting the sealant cure for three days I could finally finish the trim tab. Before the riveting of the TE, I checked the straightness after I removed all the clekos and the aluminum extrusion. It was absolutely dead straight when compared to the a known straight edge. No deviations at all as far as I could tell visually.
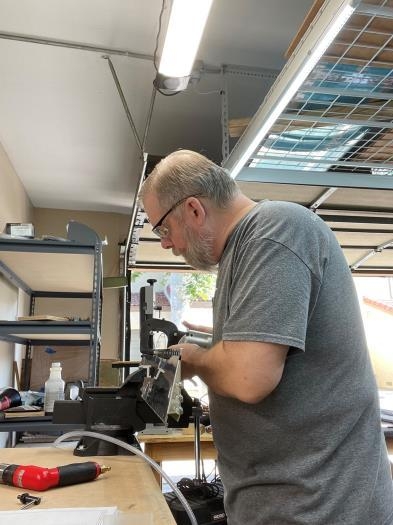
I have the special TE riveting set from Cleaveland Tools that have the faces ground at the proper angle and it made this job a breeze. I partially set the first rivet, then alternated installing rivets at the outboard and inboard ends as recommended in the plans (Section 5). I made a second pass setting the rivets a little further and then a final third pass in the same manner alternating back and forth.
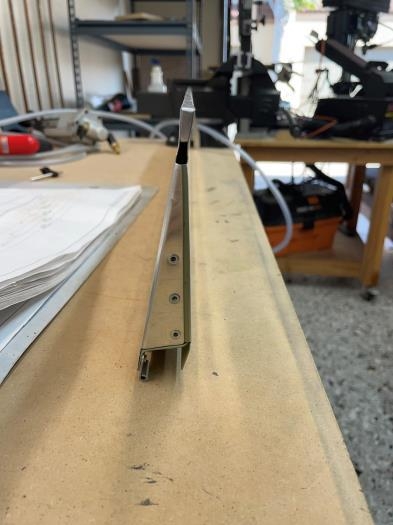
The measured deviation from straight is about 0.020 in., well within the tolerance of 0.1 in. All of that work really paid off. Hope I can get similar results from the other trailing edges when I close them up.
The final step was to close out the ends with some pop rivets and I can call the trim tab done now.
Riveting the trim tab trailing edge together.
Finished trim tab. The trailing edge is very straight.