Last night I went to the aviation department at Home Depot and picked up some 4 ft X 1/2 X 1/2 X 1/8 thick aluminum L-extrusion. I'm using this to clamp onto the trim tab trailing edge to keep it straight while the sealant and double sided tape set. I used the upper trim tab skin as a drill template to start the holes in the extrusion. This is where I went wrong with my rudder and munched up the holes so badly, so all I did this time was get a start on the holes then remove the skin and finished drilling on the angle alone. Everything fit perfectly when I did a test fitting with all the components.
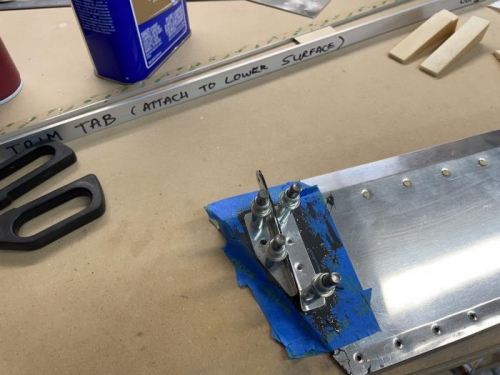
Since I was going to use sealant I decided to put some on the faying surfaces of the unprimed trim tab servo horn for corrosion protection., I masked around the footprint, scuffed all the contact surfaces with maroon Scotchbright and gave a good final wipe with acetone.
This is the first opportunity I had to use my Semco gun. I used the 2 oz CS 3204 B-2 semkit. These are so convienient. Mixing was a breeze with no measuring of A and B components. It's a tad more expensive than bulk, but it's worth it
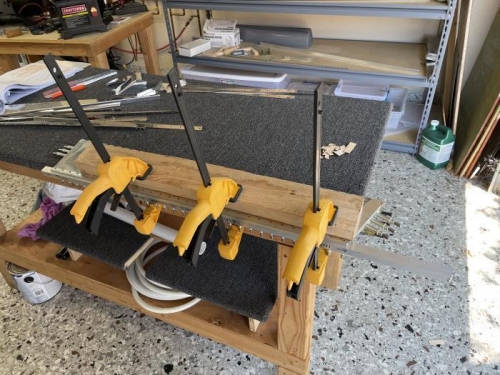
A bit more scuffing on the interior of the skins was done. Application of the sealant was super easy, but that goo still gets everywhere. Applied double sided tape to the trailing edge and set it in place. The extrusion was attached to the TE and the front spar and hinge were riveted in place. The entire assembly was clamped to my workbench and left to cure for a couple of days.
Masking around the trim tab servo horn. This was done for corrosion protection.
Foam ribs set in place with sealant. You can see the extrusion on the table just above the tab here.
Trim tab completed except for the riveting of the side closeouts.