Brief Description: Riveted c-balance skins and horns
Finished riveting both counterbalance ribs to the tip ribs. I messed up squeezing about 3-4 of the rivets so that they were proud a little more than I liked. Drilling them out and reinstalling the same size rivet would be problematic because I don't have anything to support the skin when I punch out the rivet. Instead of a standard rivet removal I'll use a #30 drill and drill out the AD3 rivet. I'll drive an oops rivet in it's place.
The elevator horns were riveted, but getting the rivets in the holes was a bit tough. In the end it all fit together nicely with no bad rivets.
The next step is to rivet the E-1008B ribs to the rear spar, but before that I test fitted the front spar assembly and rear spar to the top skin to verify the placement of the ribs in the rear spar. The ribs are clecko'ed in the proper place and they're ready to rivet. I decided to call it a night because I was getting a bit tired and that makes me more mistake prone. Better to hit it fresh tomorrow afternoon after work.
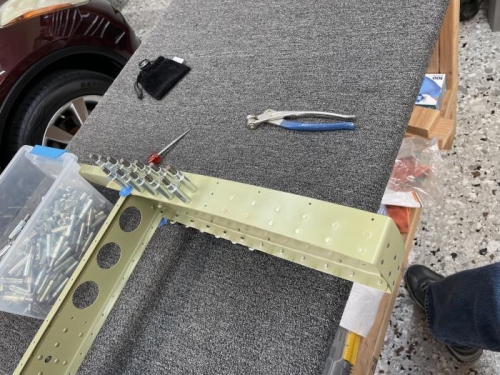
Counterbalance skins riveted in place. There are a few proud rivets I need to address.
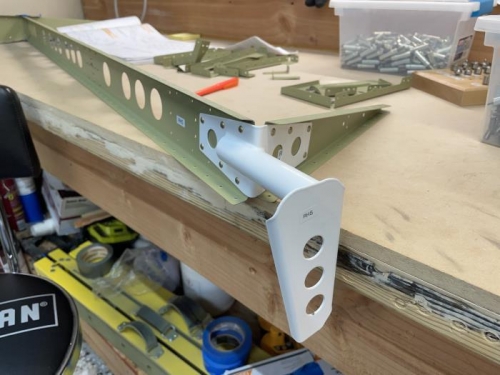
Elevators horns riveted in place.
Test fitting the spar assy to upper skin to verify placement of parts before riveting.