Brief Description: Join 4 and 5ht ribs and transfer drill; attach cab
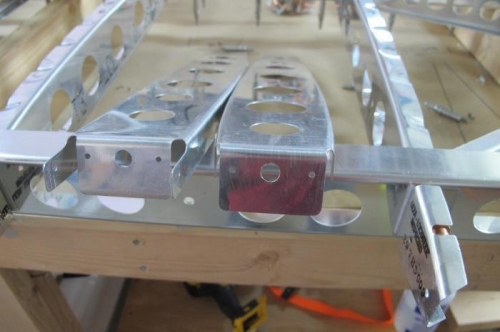
Transfer drilled 7th and 8th ribs; step drilled the center flange hole in the 4th ribs and cut out as directed (see pic.1). Drilled and attached HS 006 cable attachment brackets and the nut plates (5-24) but you may want to insert the 8 AN3-4A boltts into the cable brackets before you drill and cleco the brackets into place. The manual did not tell you to do this step until the next step, Step 3 (at 5-25) when you are directed to install the cables. "It's best to insert the bolts into the cable attachment brackets from the spar side." 5-25
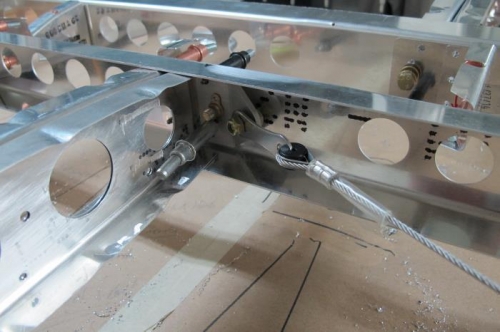
The instructions direct that you attach the ends of the cables onto the 8 AN3-4A bolts. The cables wont stretch to enable attachment but if you place the entire HS frame on the floor and twist it slightly the cables will easily reach their bolts. (Thanks to the Master Builder Lance for this hint) After the cables are attached, the frame will twist back to an approximately square shape which will be squared when you attach the 8 HS diagonal braces HS -013.
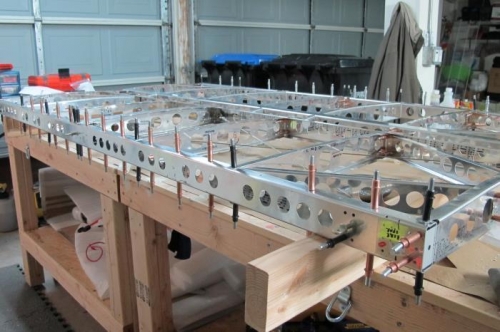
The manual now instructs you to transfer drill the three flange holes in the diagonal braces and the upper and lower rib flanges and suggest you use a two step process to go from a smaller #40 hole to a #29 or #19. I chose to use a single transfer drill ( i.e., 29 x 40 or a 19 x 30) or other special drill purchased from Pan American tools) which is a big time saver.
Most (not all) of the holes in the top and bottom VS require first drilling with a #40 and then later to a #19. Here to single step 40 x 29 transfer drill is a time saver.
Drill 5/16 holes in each end of 4th rib
Attach all HS 006's to frame and attach cable.
Anchor cable attached and step drill rear top and bottom flanges.