
|

|
|
|
Todd's Web site
|
Date: 1-30-2008
|
Number of Hours: 2.50
|
Manual Reference:
|
Brief Description: Left Wing #36 - Fitting the flap
|
|
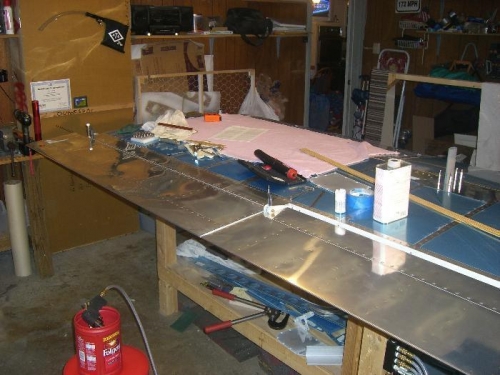
Reference the 10/06/2007 post - this flap brace keeps biting me in the rear. Instead of leaving the dimples in the flap brace like I had decided, I changed my mind and flattened them out with the squeezer so the hinge material can sit flat against it since dimpling hinge material tends to warp it. Then I installed the bottom wing skins whose trailing edge extends over the flap brace.
Tonight I realized I should have countersunk the flap brace before installing the skins. What I had to do now is pry the short section of the wing skin trailing edge up while pushing the flap brace down, then using my favorite debur tool (a small singe flute 100 degree countersink on a hex rod), I had to "suicide" countersink the flap brace. This wasn't fun. I call it suicide because this way you don't have the benefit of the countersink cage to control your depth. I kept taking tiny little bites out while concentrating on keep the cutting tool perpindicular to the surface and not cutting too deep. It was a very repetitive process of cutting a little, then checking it with the dimple in the skin. Anyway, I managed to get it done. So now the dimpled skin fits into the countersunk flap brace and the unwarped flap hinge will attach to the bottom of that.
Using Dan Checkoway's method, I put cleckos in every hole squeezing the flap brace and skin together, then located 8 extra holes along the line inbetween the cleckos. I countersunk the bottom of those holes on the brace and installed the 8 keeper rivets with the shop heads protruding out the bottom skin. That way you can removed all the clekos, the keeper rivets secure the skin and the flap brace, then that makes it real easy to offer the flap and hinge into place for clamping and drilling. Once I have the flap hinge drilled, I'll drill out the keeper rivets dimple, countersink, and reinstall rivets from skin side.
I was amazed at how nicely the flap slid right into place - all the measurements and edge distances are perfect, and the trailing edge is straight as ca
|
|
Flap and aileron
|
|
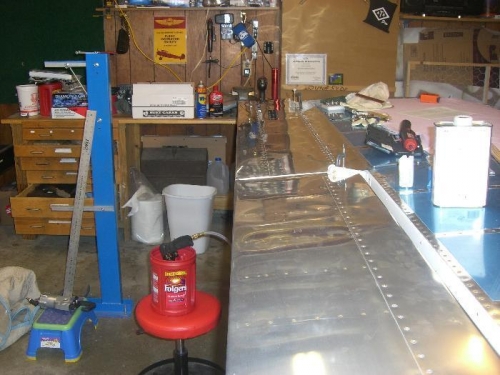
Not a great pic, but the trailing edge is straight as an arrow!!!
|
|
|
|
|
|
|
|
|
Copyright © 2001-2024 Matronics. All Rights Reserved.
|