Spent a few more days messing with the tank leak check. The test plug definitely slowed up the leakdown. It still leaked though, so instead of mashing the 3/8" plastic tubing on the 1/4" aluminum vent line with a hose clamp, I wrapped the 1/4" tube with some teflon tape until it built up enough for a snug fit of the tube. I pumped it up once again, and initially thought it still had a small leak. But after letting it set for another couple days, the water moved up and down directly with the temperature with some predictability. So I'm finally satisfied the tank is not leaking anymore....yeeaaahhhh!!!
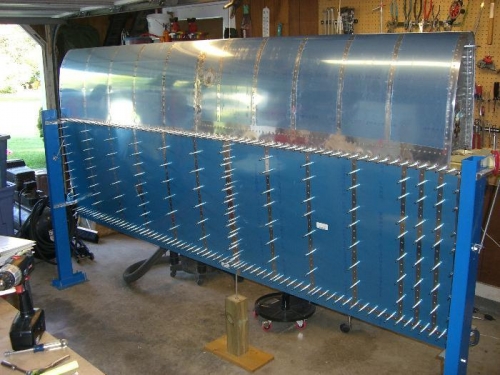
With that, I installed the tank according to the instructions (half the bolts in the z brackets and every other screw. I was very pleased with the fit of the tank to the leading edge section and to the top wing skins. Couldn't ask for a better fit.
After I had the tank installed and the wing skins clekoed with a zillion clekos, I realized I didn't shoot the rivet lines with primer like I had intended. I also want to prime the outer tank ribs and baffle, but I'm trying to determine if I want to use the AFS or just spray it with self etching primer from the can.
Tank Installed
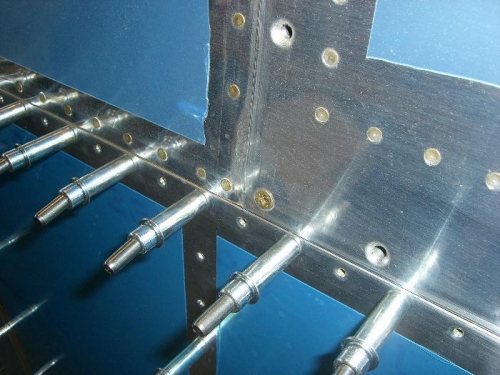
Leading edge of wing - seam between tank and leading edge section - yeah baby!!!
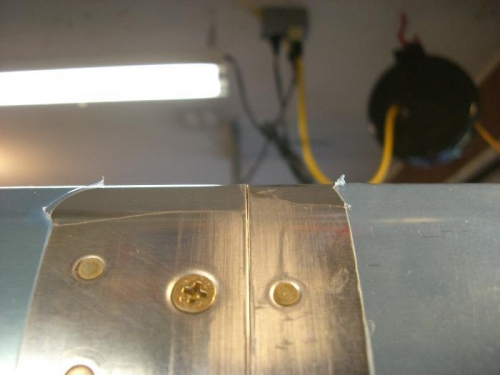
Where the top wing skins overlap and butt against tank skin - had to scarf the joint - came out good