Brief Description: Left Fuel Tank #2 - Fabrication (2 of 2)
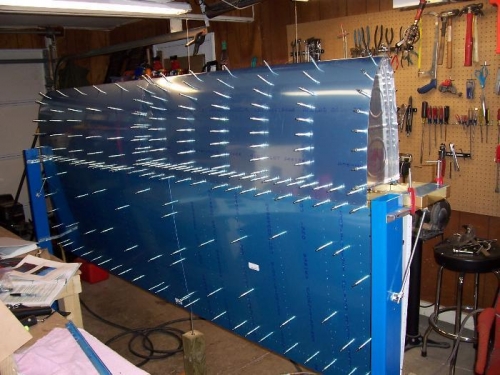
After installing the rear baffle on the tank, I installed the tank on the wing, man is that cool. I was a little concerned about the fit of the skins. Everything seemed to fit well except at the very leading edge where the leading edge assembly and fuel tank assembly mate up at the joint plate. After thinking about it for awhile, I took 1 turn out my homemade jack stand and it mated right up perfectly. Whew.
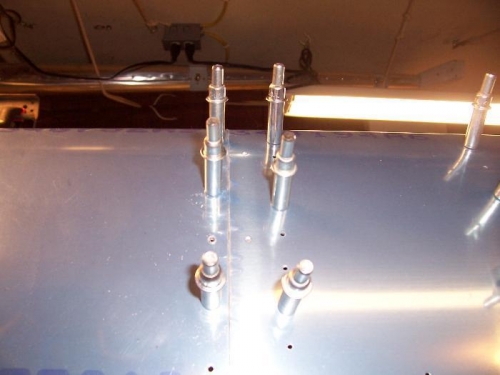
I then used a 12" bit to maintain clearance away from the rib and drill the holes into the inboard z-bracket. This method will ensure a good fit between the skins/baffle/brackets. Van's method seems to leave things to chance.
That's all I got done tonight. Next I will removed the leading edge assembly to expose the outboard z-bracket and fuel tank end rib so I can drill and cleko it.
It is really neat to look at the whole wing...but I know there is so much more work to do....
The gap between the leading edge and fuel tank is now miniscule.