
|

|
|
|
Todd's Web site
|
Date: 1-29-2007
|
Number of Hours: 6.00
|
Manual Reference:
|
Brief Description: Left Fuel Tank #3 (1 of 2)
|
|
Began the day by removing the leading edge assembly to expose the outboard tank rib and z-brackets. Once I had got the leading edge assembly off I realized I had never final drilled the spar to leading edge ribs. So I made a mental note to take care of that later.
Once I had the leading edge off, I drilled the holes through the outboard rib and z-bracket on the tank. I then proceeded to remove all the clekos holding the tank skin to the outboard ribs, baffle, and spar. Once I lifted the skin and ribs off the assembly, it left what you can see in the picture. Then I drilled the holes through the rest of the z-brackets using the baffle as a drill guide. I used a drill stop so as not to drill into the spar...that would be ugly. Once I completed that, I removed and set aside the tank end ribs and baffle to reveal 7 perfectly drilled and located z-brackets.
With that complete I went ahead and re-clekoed the leading edge and joint plate assembly to the spar. Then I finished drilling out the spar to rib holes in the leading edge I had discovered earlier.
With the leading edge back on the wing, I once again clekoed the tank back together in the cradle. I clekoed the tank back onto the wing so I could final drill the holes for the joint plate between the tank and leading edge. On the tank side I had to drill out the holes with a #19 drill so I can dimple and install nutplates for #8 screws. (continued in next post)
I was trying to get myself back to the point I could pick back up and follow Van's instructions step by step after completing my alternate z-bracket drilling. That's when I realized I still needed to fabricate and final drill the stiffeners that go in the bottom of the tank. So I got the snips out, marked and cut up the stiffener angles, and deburred them all on the grinder 3M wheel. I had to once again remove the tank baffle I had re-clekoed on in the cradle, then fit and final drill the stiffeners to the skin. Once that was complete, I put the tank baffle back on with cleko
|
|
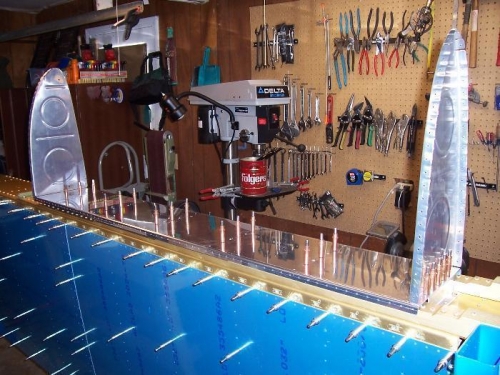
Tank end ribs and baffle after pulling the tank skin- Made it easy to back drill the middle z-brackets
|
|
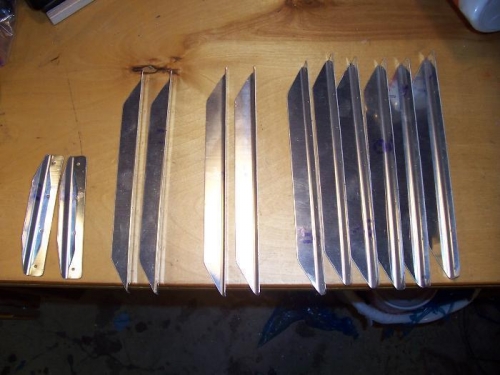
Fabricated the fuel tank stiffeners
|
|
|
|
|
|
|
|
|
Copyright © 2001-2024 Matronics. All Rights Reserved.
|