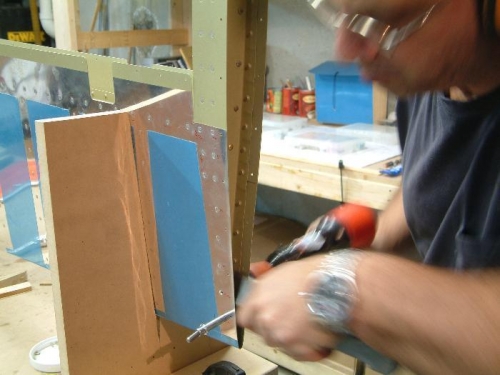
I started the final riveting as called for in the manual by completing the counterweight skin then I continued down the rib towards the trailing edge until I had no room for the hand squeezer. Then I riveted the front spar starting at the middle and working each way. I place clecoes every second hole and rivet open one without clecoe until all open holes are done. Then I remove remaining clecoes to finish. The last 3 or 4 are a real challenge. For these I used my hatchet, and concrete hammer/chisel to final rivet. This time I was able to complete those, all without having to replace any…..must be getting good at this riveting stuff.
When it came time to rivet the 8 MK POP rivets that hold the skin to trim spar, I realized (too late) that I should have dimpled the skin and spar before closing up the elevator. Well its too late for that so instead, I machine countersunk the skin just enough so that the MK rivet would sit flush. I also had to match drill the holes to 0.110. I found a drill that was close to this and tried it first on a scrap piece, and then I riveted the bottom skin first, just in case I found problems. In the end it worked out fine.
I completed all the riveting except the bent tabs and the trim spar to inboard rib rivets.
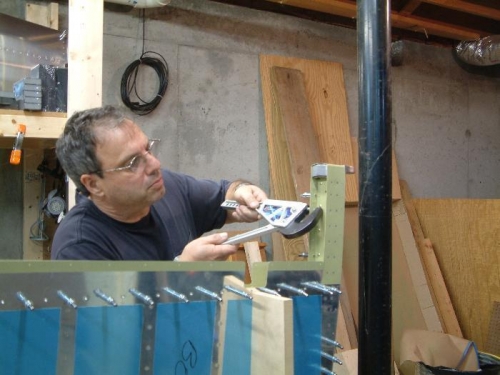
Riveting counterweight skin to ribs
The last 3 TE rivets are hard to reach...but I got them done.